The Entrance Pupil of the Lens
While the definition of the entrance pupil seems simple, the practical implications are not.
While the definition of the entrance pupil seems simple, the practical implications are not.

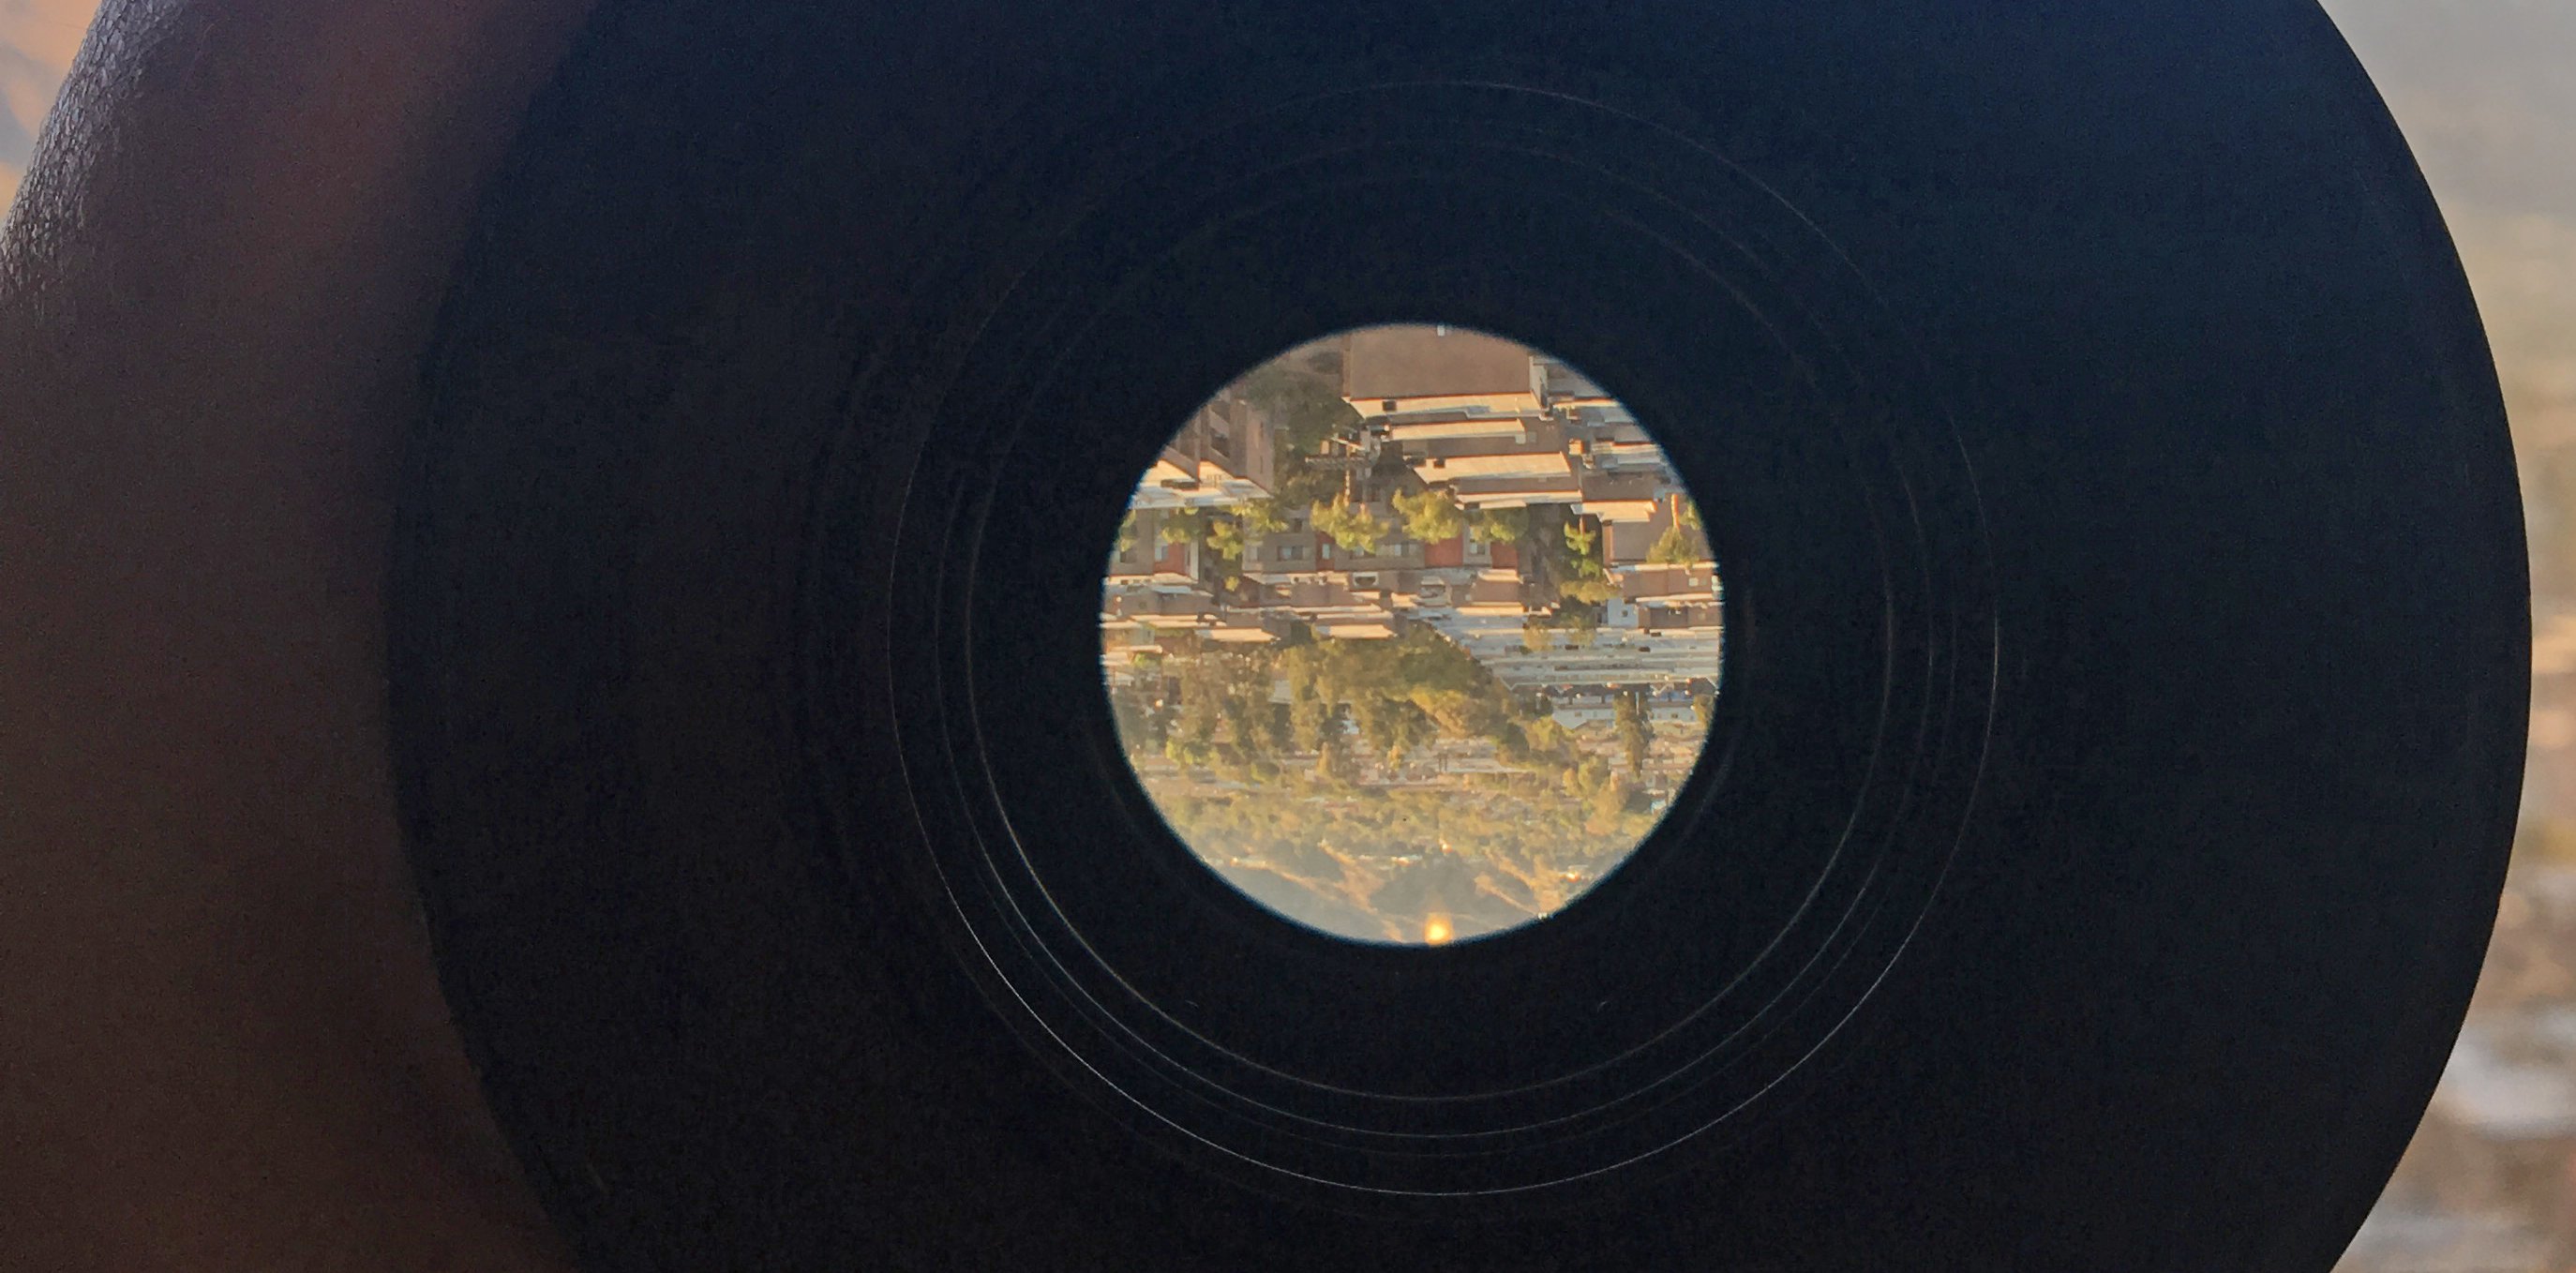
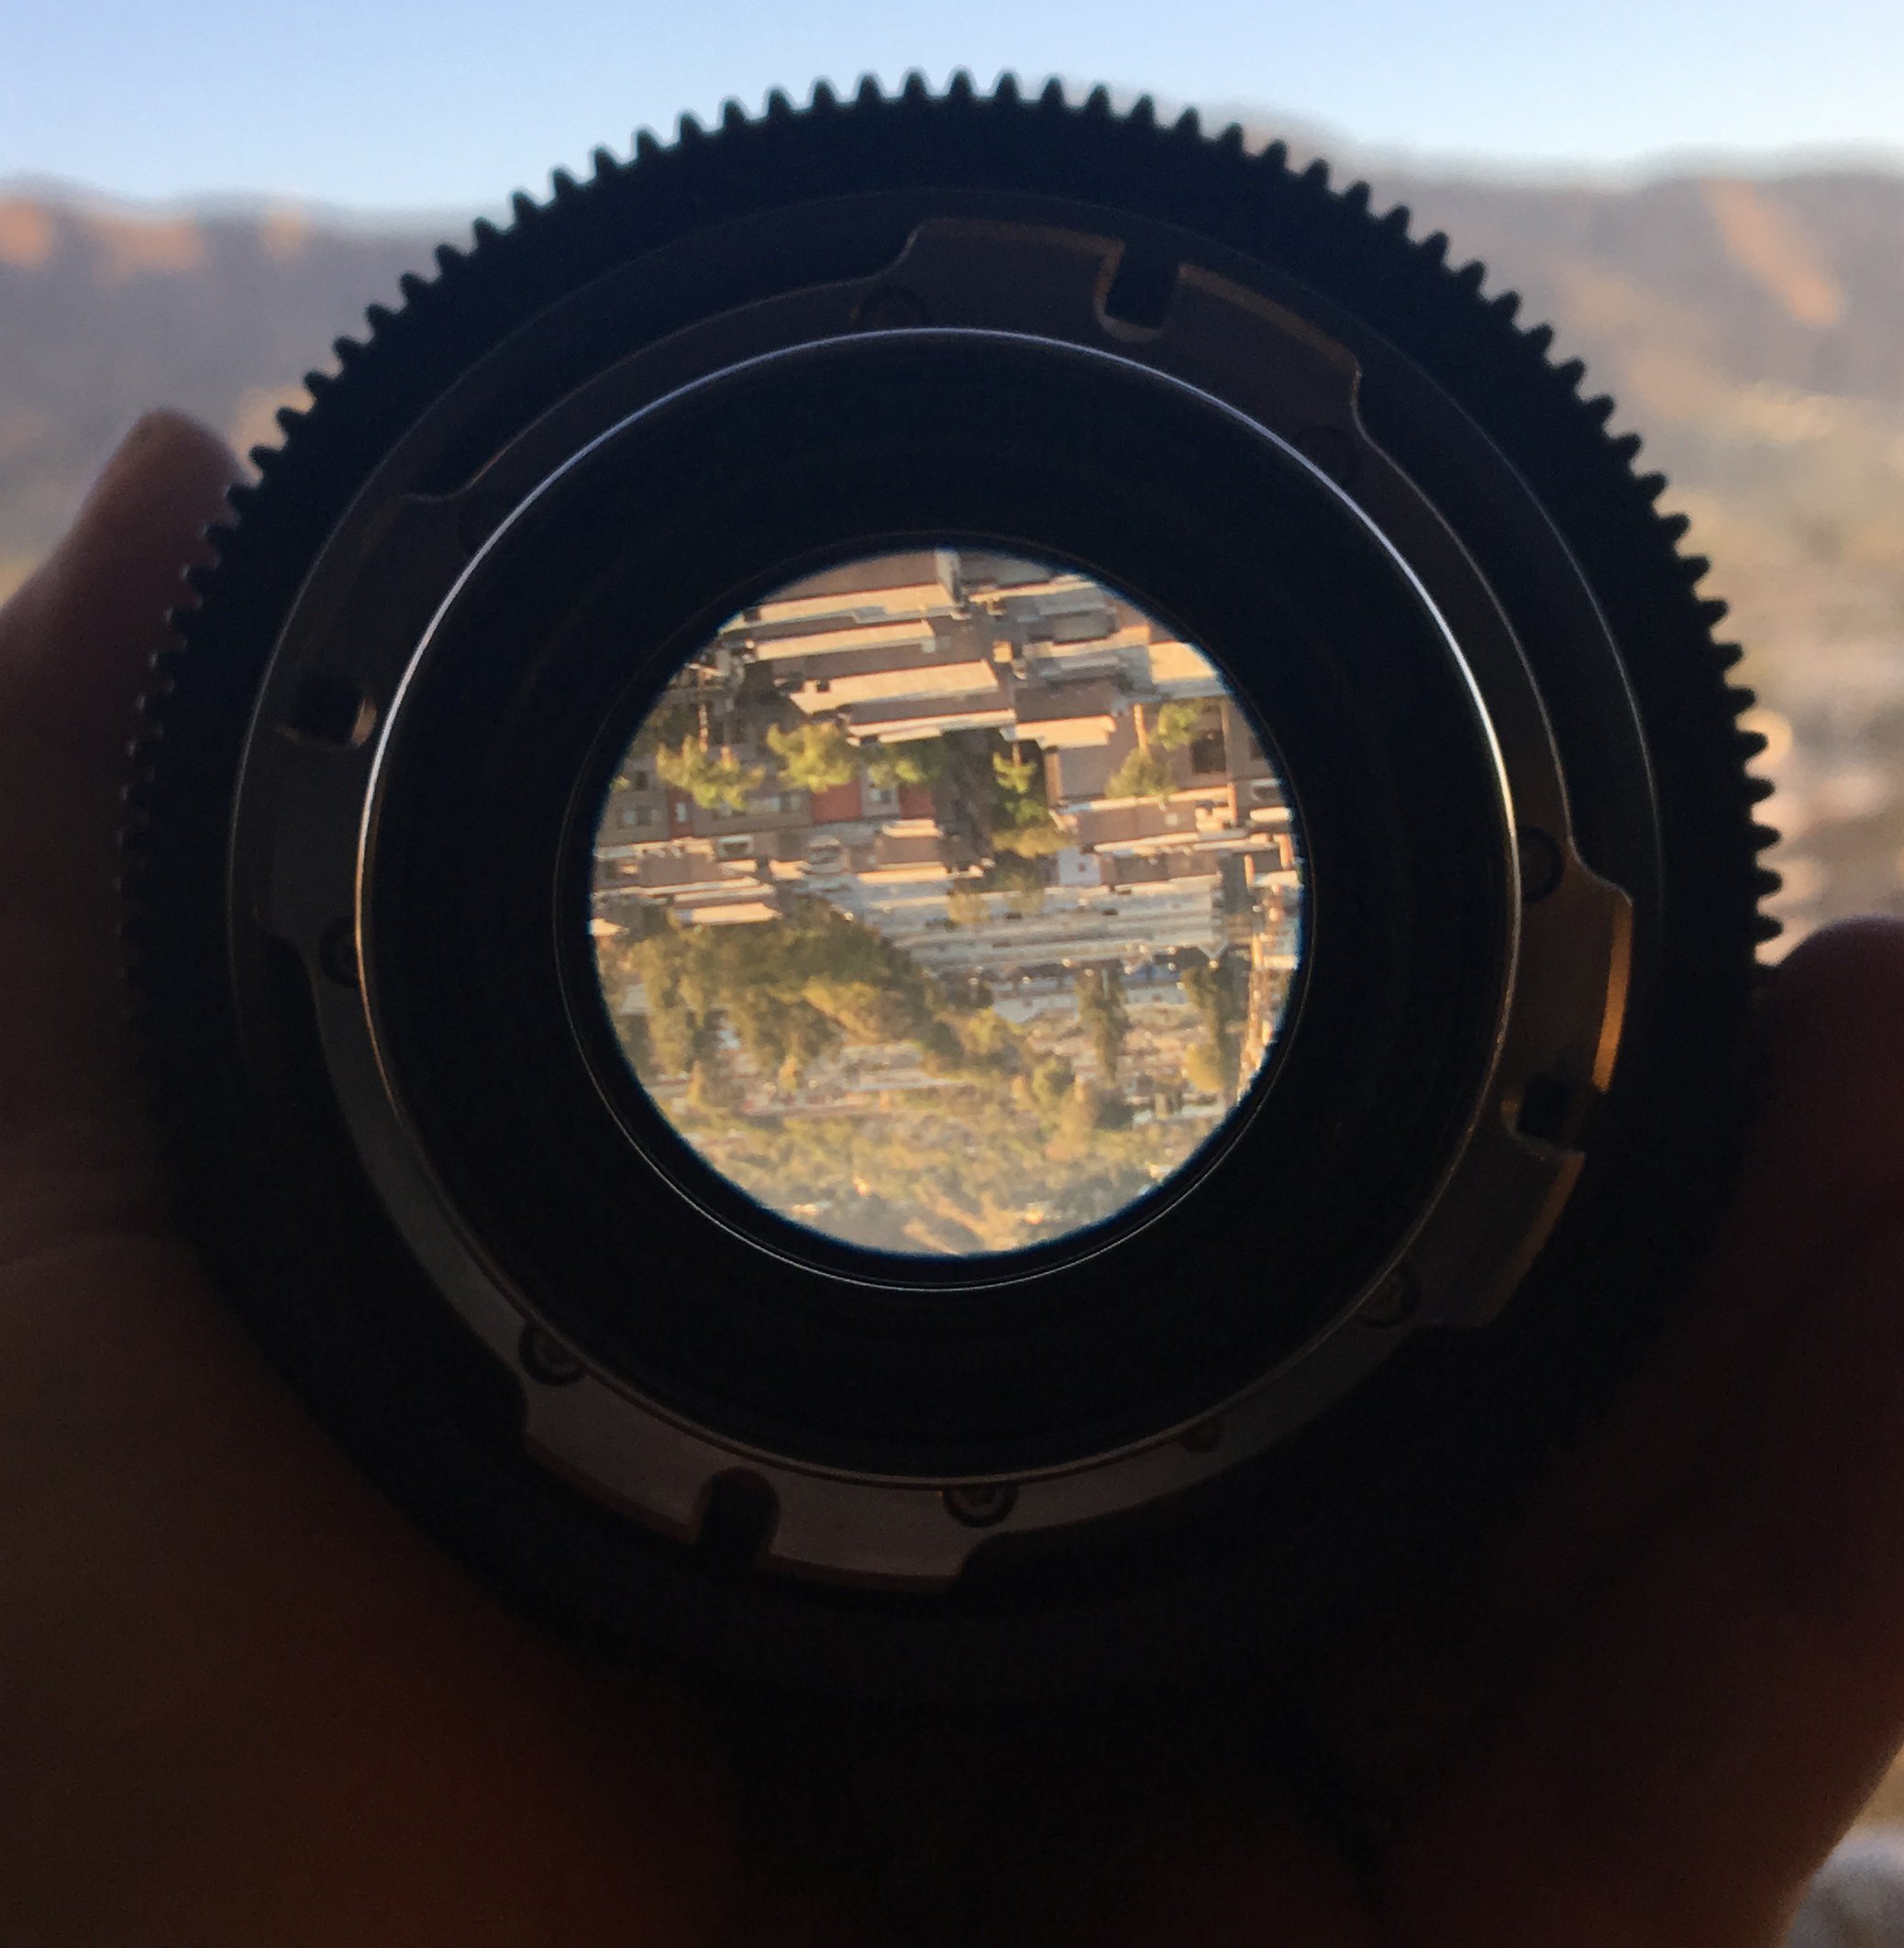
Hold a lens up in your hand and look through it from the front. Can you see where the iris blades are? That’s the entrance pupil. (Note: If you don’t see iris blades, you may need to stop down the lens a bit. It also helps to hold the lens up to a solid white background.)
It’s really that simple. End of lesson.
Wait … what? This can’t be a Shot Craft and be that simple.
But it kind of is!
After years of studying optical concepts, optical design and optomechanical design; testing lenses; scrutinizing lenses; and discussing acutance, contrast, resolution, bokeh and various aberrations, it took me a bit to wrap my head around this concept. Could it really be that simple?
Yup. The entrance pupil is the image of the lens’ aperture stop as seen from the front of the lens — through the glass elements in front of the iris — and that is normally where the iris is located.
Why do we need to know this crazy-simple thing? I’ll explain.
It Governs the Light
First, it’s important to note the entrance pupil is the image of the iris as seen through the front of the lens (assuming the iris is located at the aperture stop of the lens). What you’re looking at is the iris altered visually by the lens elements in front of it. This can optically enlarge (or reduce) the actual physical size of the iris.
The f-stop of a lens is derived mathematically as the focal length of the lens divided by the diameter of the entrance pupil — not the actual size of the iris, but rather its magnified image as seen through the front of the lens. If we take a pair of calipers (a precision measurement tool) and hold it up to the front of a 50mm lens and measure a 25mm-diameter entrance pupil, that will be an f/2. This does not mean the actual physical iris/diaphragm inside the lens is 25mm in diameter; it can be significantly smaller (or in some cases larger) than that, but because the glass elements in front of the iris are magnifying it, the resulting entrance pupil is that size.
It is the entrance pupil that governs the amount of light passing through the lens. The size of the entrance pupil when the iris is wide open determines how fast a given lens can be. In fact, when designing lenses, an optical designer can place a large positive element at the front of the optical design that magnifies the entrance pupil and creates a faster lens. (Yes, you can also increase the speed of a lens by adding a magnifying glass in front of it — or a close-up attachment otherwise known as a diopter — but at the expense of increased image magnification and loss of angle of view, and the increase is really only enough to compensate for the increased effective focal length of the lens. To significantly change the speed requires a very powerful magnifying element, which brings with it many additional image aberrations, so it’s not a practical way to get a faster lens. Leave this trick to the optical designers.)
The World Revolves Around the Entrance Pupil
The next thing to understand about the entrance pupil is that it’s the center of perspective for the lens. The entrance pupil is sometimes incorrectly referred to as the nodal point. Optically speaking, every glass element within the lens has two nodal points, and the conjugate of all the elements forms four nodal points, but that is all academic. What people actually mean when they refer to the nodal point of a lens is its no-parallax point, or what could more simply be called the optical center of the lens: the entrance pupil.
If you position this no-parallax point at the center of rotation on a tripod head, you can pan without changing the parallax of the image. Knowing this position is incredibly important when you’re shooting panoramics, or tiles to be stitched for backgrounds, or photogrammetry elements, or when you’re dealing with front- or rear-projection systems and you have to match the perspective of the projector to that of the camera.
The Pupil Marks the Focus Spot
The next thing to understand about the entrance pupil is that it is at that point — not at the film plane (or sensor plane) — from which focus should be measured. It’s a long-standing practice in cinematography to take focus measurements from the film or sensor plane of the camera, which is usually indicated on the side of the camera with a symbol consisting of a circle and a vertical line through its center, similar to the Greek letter Phi (φ).
In actuality, this is a cheat and not wholly accurate. The reason it was probably chosen is because this is one of the fixed dimensions for different cameras and lenses. However, at typical shooting distances of 6' or more, a couple of inches between the image plane and the entrance pupil won’t make much of a difference and will be covered by depth of field. However, as our sensor/film-plane sizes get larger and our focal-length lenses get longer (for a given field of view compared to smaller formats), our depth of field drops, and it becomes a bit more of an issue. It is especially an issue if you’re shooting extreme close-up, where the depth of field is extremely small and the difference of focal plane from the entrance pupil to the imager can make a significant difference! This is when you really need to know the entrance-pupil position and measure your focus from that point.
Why have we cheated this method for so many years in cinematography?
Why are we measuring to the film plane instead of the entrance pupil, which is more accurate?
We do this because the film/sensor plane is a known and fixed distance — it doesn’t change. There are even physical hooks on cameras at the film/sensor plane where you can latch on your tape measure! The entrance pupil, on the other hand, does change. Its position changes not only from lens to lens, but also with focus distance and zoom focal length, and if you have an extremely wide-angle lens such as a fisheye, the entrance-pupil position can change depending on what point in space the light is coming from! (It retreats further into the lens as the rays get more oblique.) So it’s literally a bit of a moving target.
To make matters worse, not all manufacturers readily provide entrance-pupil positions for their lenses, and the estimation procedure I detail here isn’t scientifically perfect, but it’s a good start. If you have a smart lens (covered here), it can provide metadata of the exact entrance-pupil position, or you can contact the lens manufacturer to get that information. But because it changes from lens to lens, and even within a lens as you alter other parameters, we have developed the habit of cheating. The faster your lens, the longer the focal length and the closer the object on which you’re focusing, the more the distance between the film/sensor plane and the entrance pupil will affect whether your subject is in focus.
It’s All About the Bokeh!
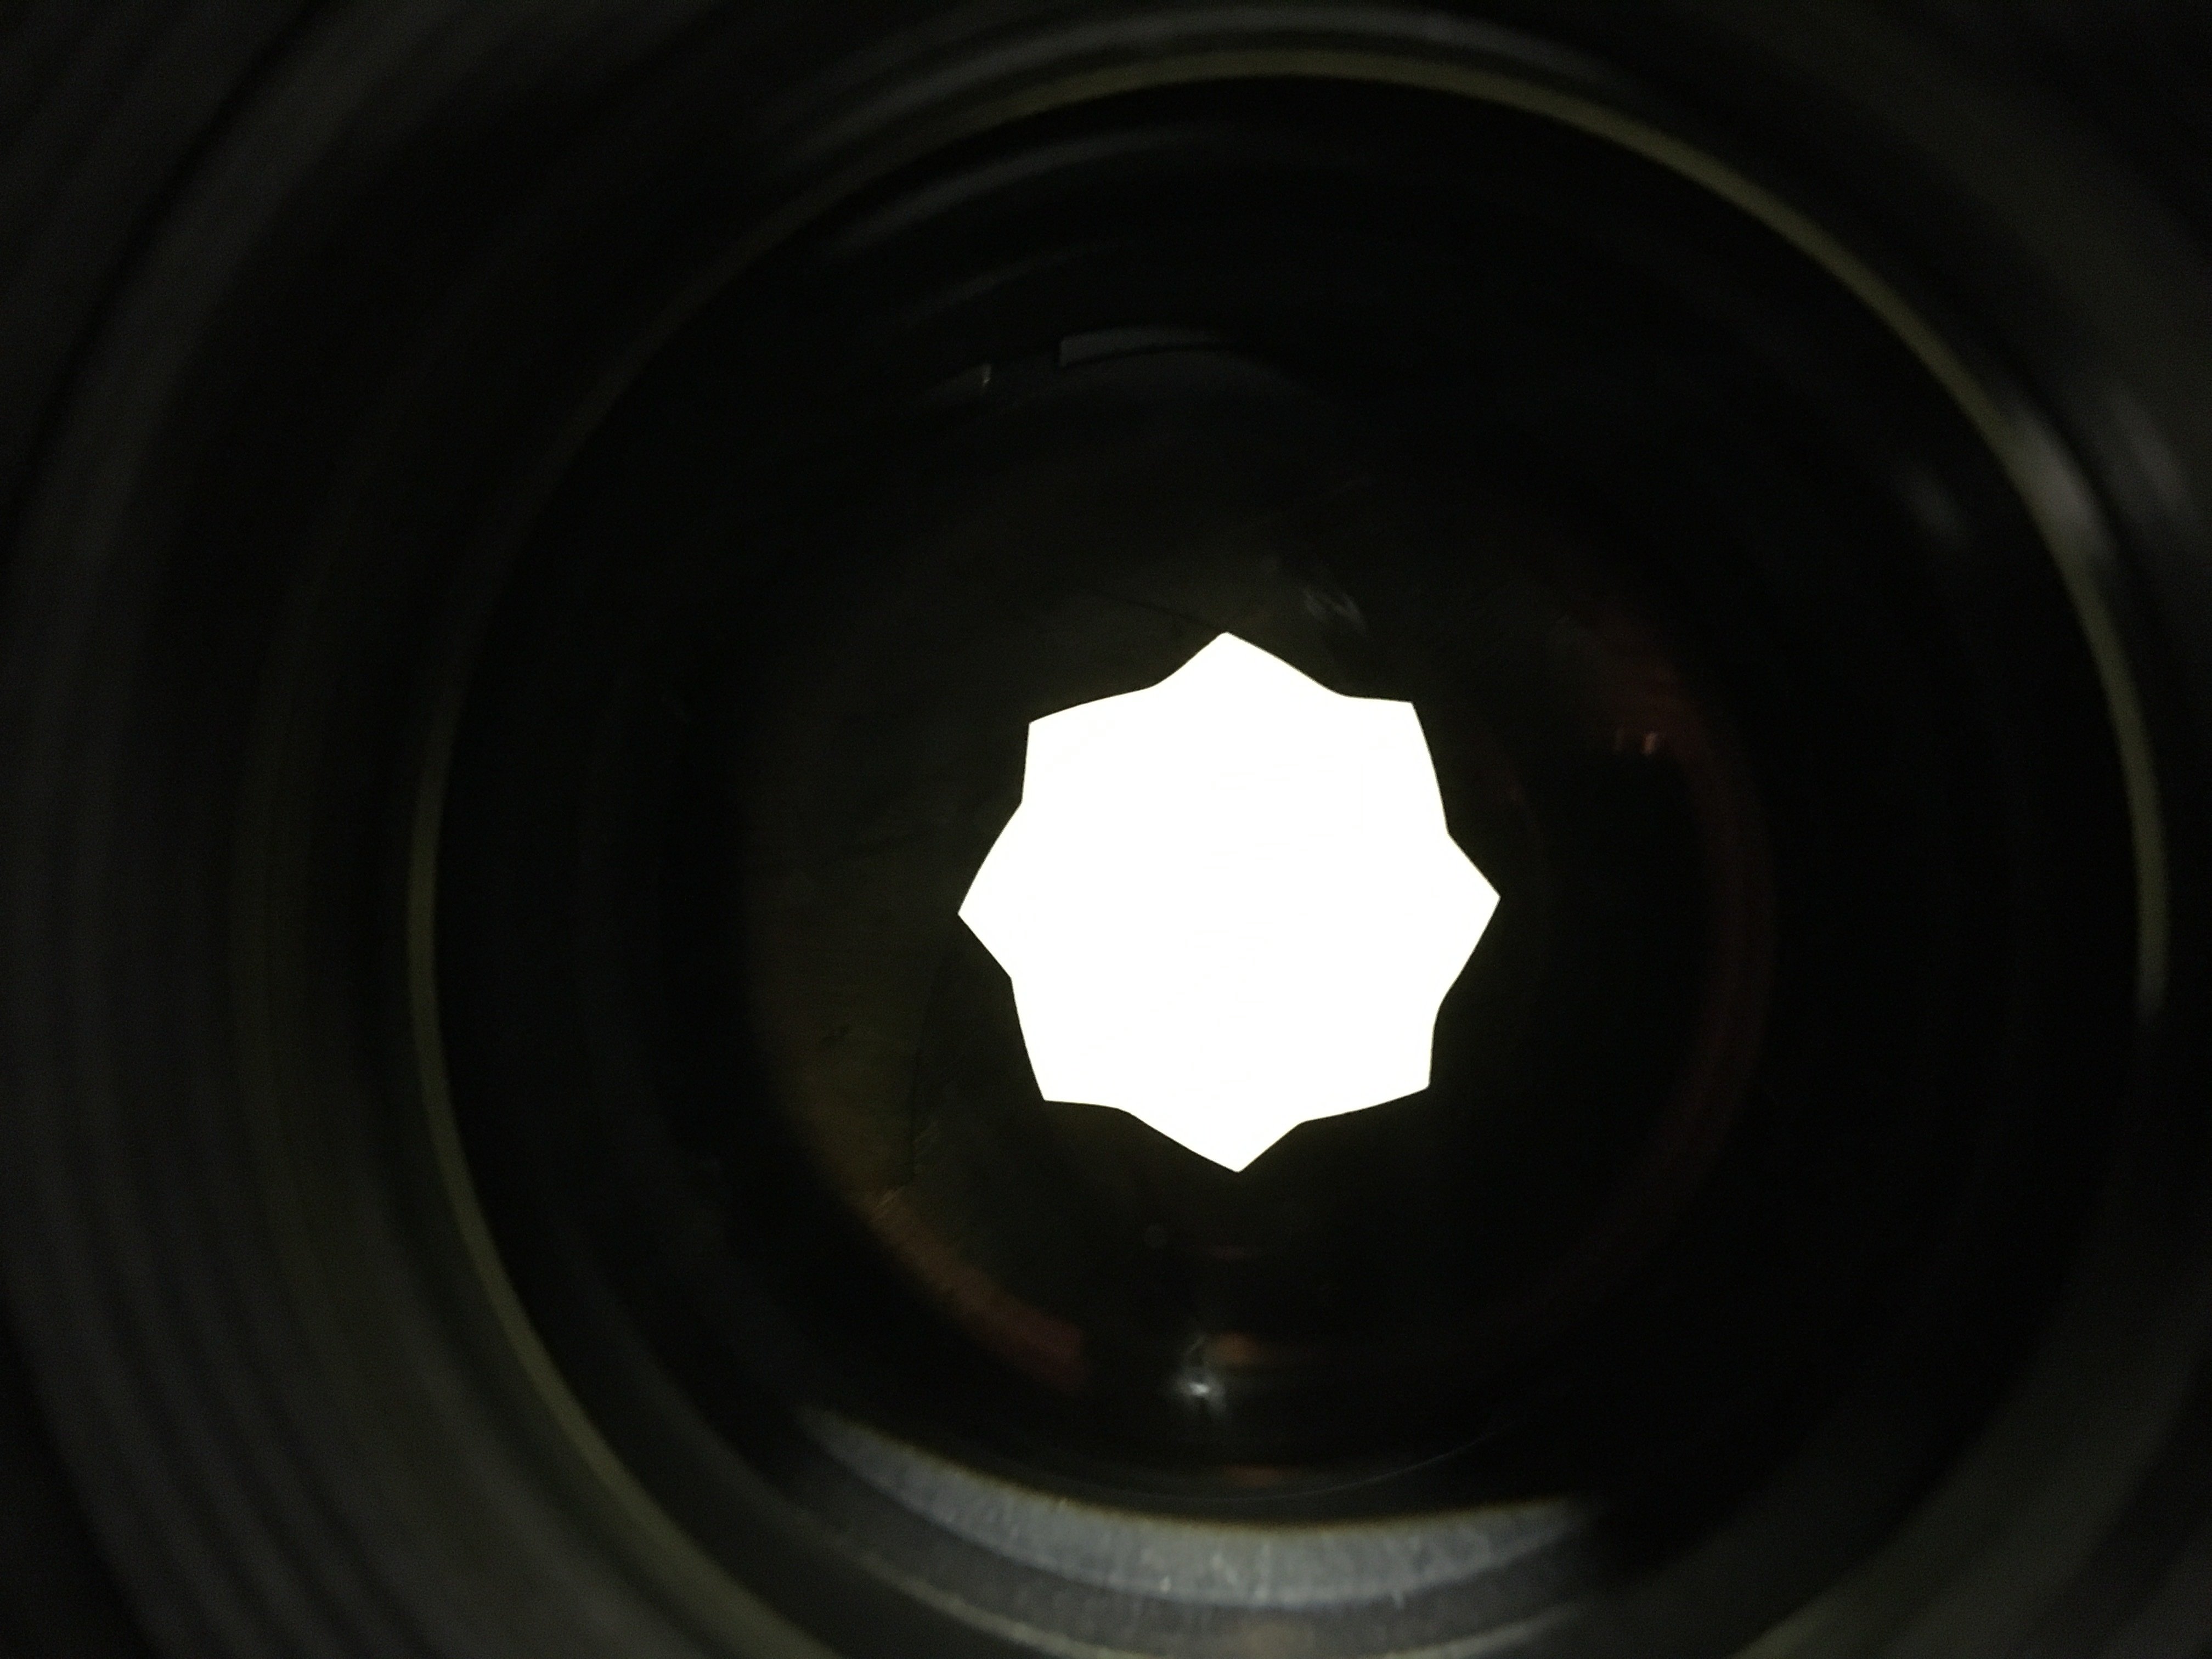
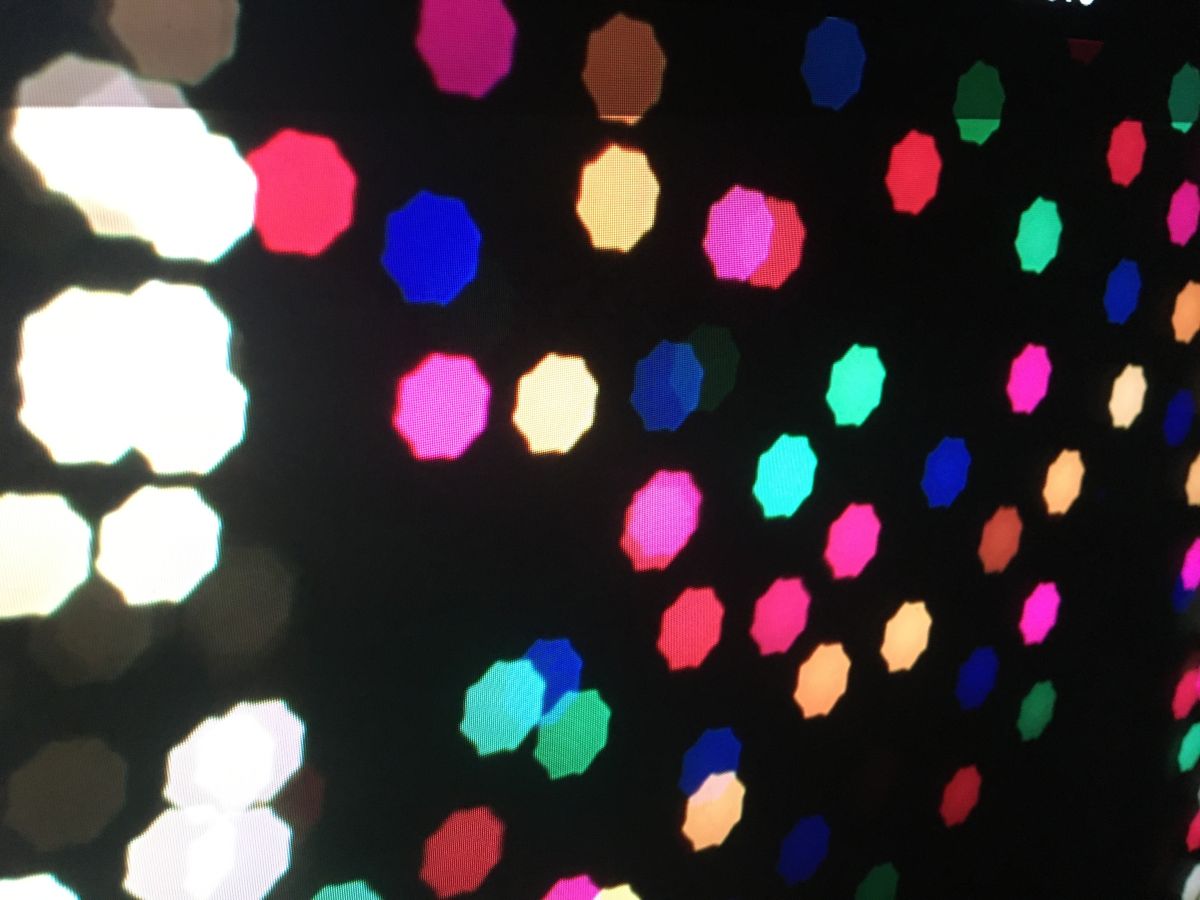
The shape of the entrance pupil is also what defines the shape of the out-of-focus highlights (bokeh) in your image. (Actually, it defines the shape of all the out-of-focus points in the image, but we mostly notice it in the highlights.) It’s popular to have a rounded, multi-bladed iris because that creates more organic (“pleasing” to some), circular, out-of-focus highlights. If your iris has sharp geometric shapes, then so, too, will your bokeh balls.
A front-anamorphic lens will have an elliptical/oval entrance pupil, as the cylindrical elements in front of the iris create a disproportionate magnification that “squishes” the entrance pupil into an oval shape. That’s what gives front-anamorphic lenses that elliptical bokeh.
If you don’t have an anamorphic lens but want this look, you can actually fake it by changing the shape of the entrance pupil (or the shape of the iris). You can do this with an oval cardboard cutout in front of the lens. (There are many DIY videos about this online.) You can also use a cutout in pretty much any other shape to turn those out-of-focus highlights into little stars, hearts, Christmas trees or even Saturday Night Live logos.
This look is so favored that Vantage offers a set of “hybrid” spherical lenses called MiniHawks, which have a special dual iris that forms an approximately elliptical shape and gives the image a pseudo-anamorphic bokeh. The MiniHawk lenses are not anamorphic at all, but they do provide a somewhat anamorphic elliptical shape to the highlights.
A Peek Into the Optical Magic
What else can we learn from the entrance pupil?
Well, as you’re looking at it from the front of the lens, try to figure out where its position is inside the lens. Hold your finger over the top of the lens barrel and estimate where that iris sits. Often, this won’t necessarily align with the actual position of the iris inside the optomechanics, but don’t worry about that. We want to know its virtual position.
Take note of where that spot is that you just estimated. Put a little piece of tape on the lens in that position. Now turn the lens around and look through the back. See the iris in there? Now we’re looking at the exit pupil.
Yes, it’s still really that simple: the exit pupil is the image of the iris as seen through the back of the lens.
You with me so far?
Put your finger on the lens barrel where the exit pupil appears to be inside the lens. Put a second little piece of tape there. Are they in the same place?
If yes, then you’re looking at a symmetrical optical design. This is pretty common in “standard” focal-length primes that are often of a Double Gauss or modified Double Gauss design. Symmetrical means the optical elements inside the lens are pretty much exact mirrors of each other, with the iris in the middle. This puts the entrance pupil and exit pupil in the center of the lens at the same position.
If the entrance pupil is significantly smaller than the exit pupil, it’s most likely an inverse-telephoto (or retrofocus) optical design used on wide-angle lenses. This is because inverse-telephoto designs feature significantly powered negative (diverging) front elements and less-powered positive (converging) rear elements in the lens group in front of the iris, making the entrance pupil appear very small and the exit pupil look larger and closer to the back of the lens.
Inversely, if the entrance pupil is significantly larger than the exit pupil, the lens is most likely telephoto. This is because the design is the exact opposite of the retrofocus, with a significantly powered positive (converging) front element and a weaker negative (diverging) rear element in the lens group in front of the iris. This positive element in front of the pupil magnifies the entrance pupil’s perceived size.
If the exit pupil is deep into the lens, then the lens has telecentric properties, meaning the light rays exit the lens in a more parallel configuration that may make the lens more suitable for use with digital imagers.
If you look at the entrance pupil in a zoom lens, you can see its size and position change as you alter focal length. In some cases, you’ll notice that the physical aperture inside the zoom will actually open up or close down as you zoom; this is a mechanical compensation for the optical change in entrance-pupil size to make sure that the relative amount of light you’re shooting with (f-stop) remains consistent even if you’re magnifying or de-magnifying the pupil. Without this compensation, you’ll have a change in light passing through the lens, and that is called a “ramping” zoom.
So, while the definition of the entrance pupil seems simple, the practical implications are not.
With gratitude for his consultation, I'd like to thank optical consultant and ASC associate Iain Neil. Based in Switzerland, Neil holds more than 100 worldwide optically related patents and has garnered 12 Academy Awards and two Emmys for optical design.
