Shot Craft: The Talking Head — Shooting Interviews
The “talking head” interview tasks the cinematographer with balancing proper modeling of the face while maintaining the project’s overall tone and style.

The visual simplicity of the “talking head” interview can be deceiving. Often a key element in documentary productions, this particular kind of shoot tasks the cinematographer with balancing proper modeling of the face — putting the subject in the best light (literally) — while maintaining the project’s overall tone and style. This installment of Shot Craft presents some things to consider when shooting this type of material.
Lighting
The talking head is a perfect opportunity to break out classic three-point lighting and model the subject with key, fill and backlight. The most flattering key light is achieved by placing a large soft source off to one side of the camera and orienting the shadowed side of the subject’s face closer to the camera. In this way, documentary talking heads are an ideal application of the “shadow-side to camera” approach, which offers some dimensionality to the face.
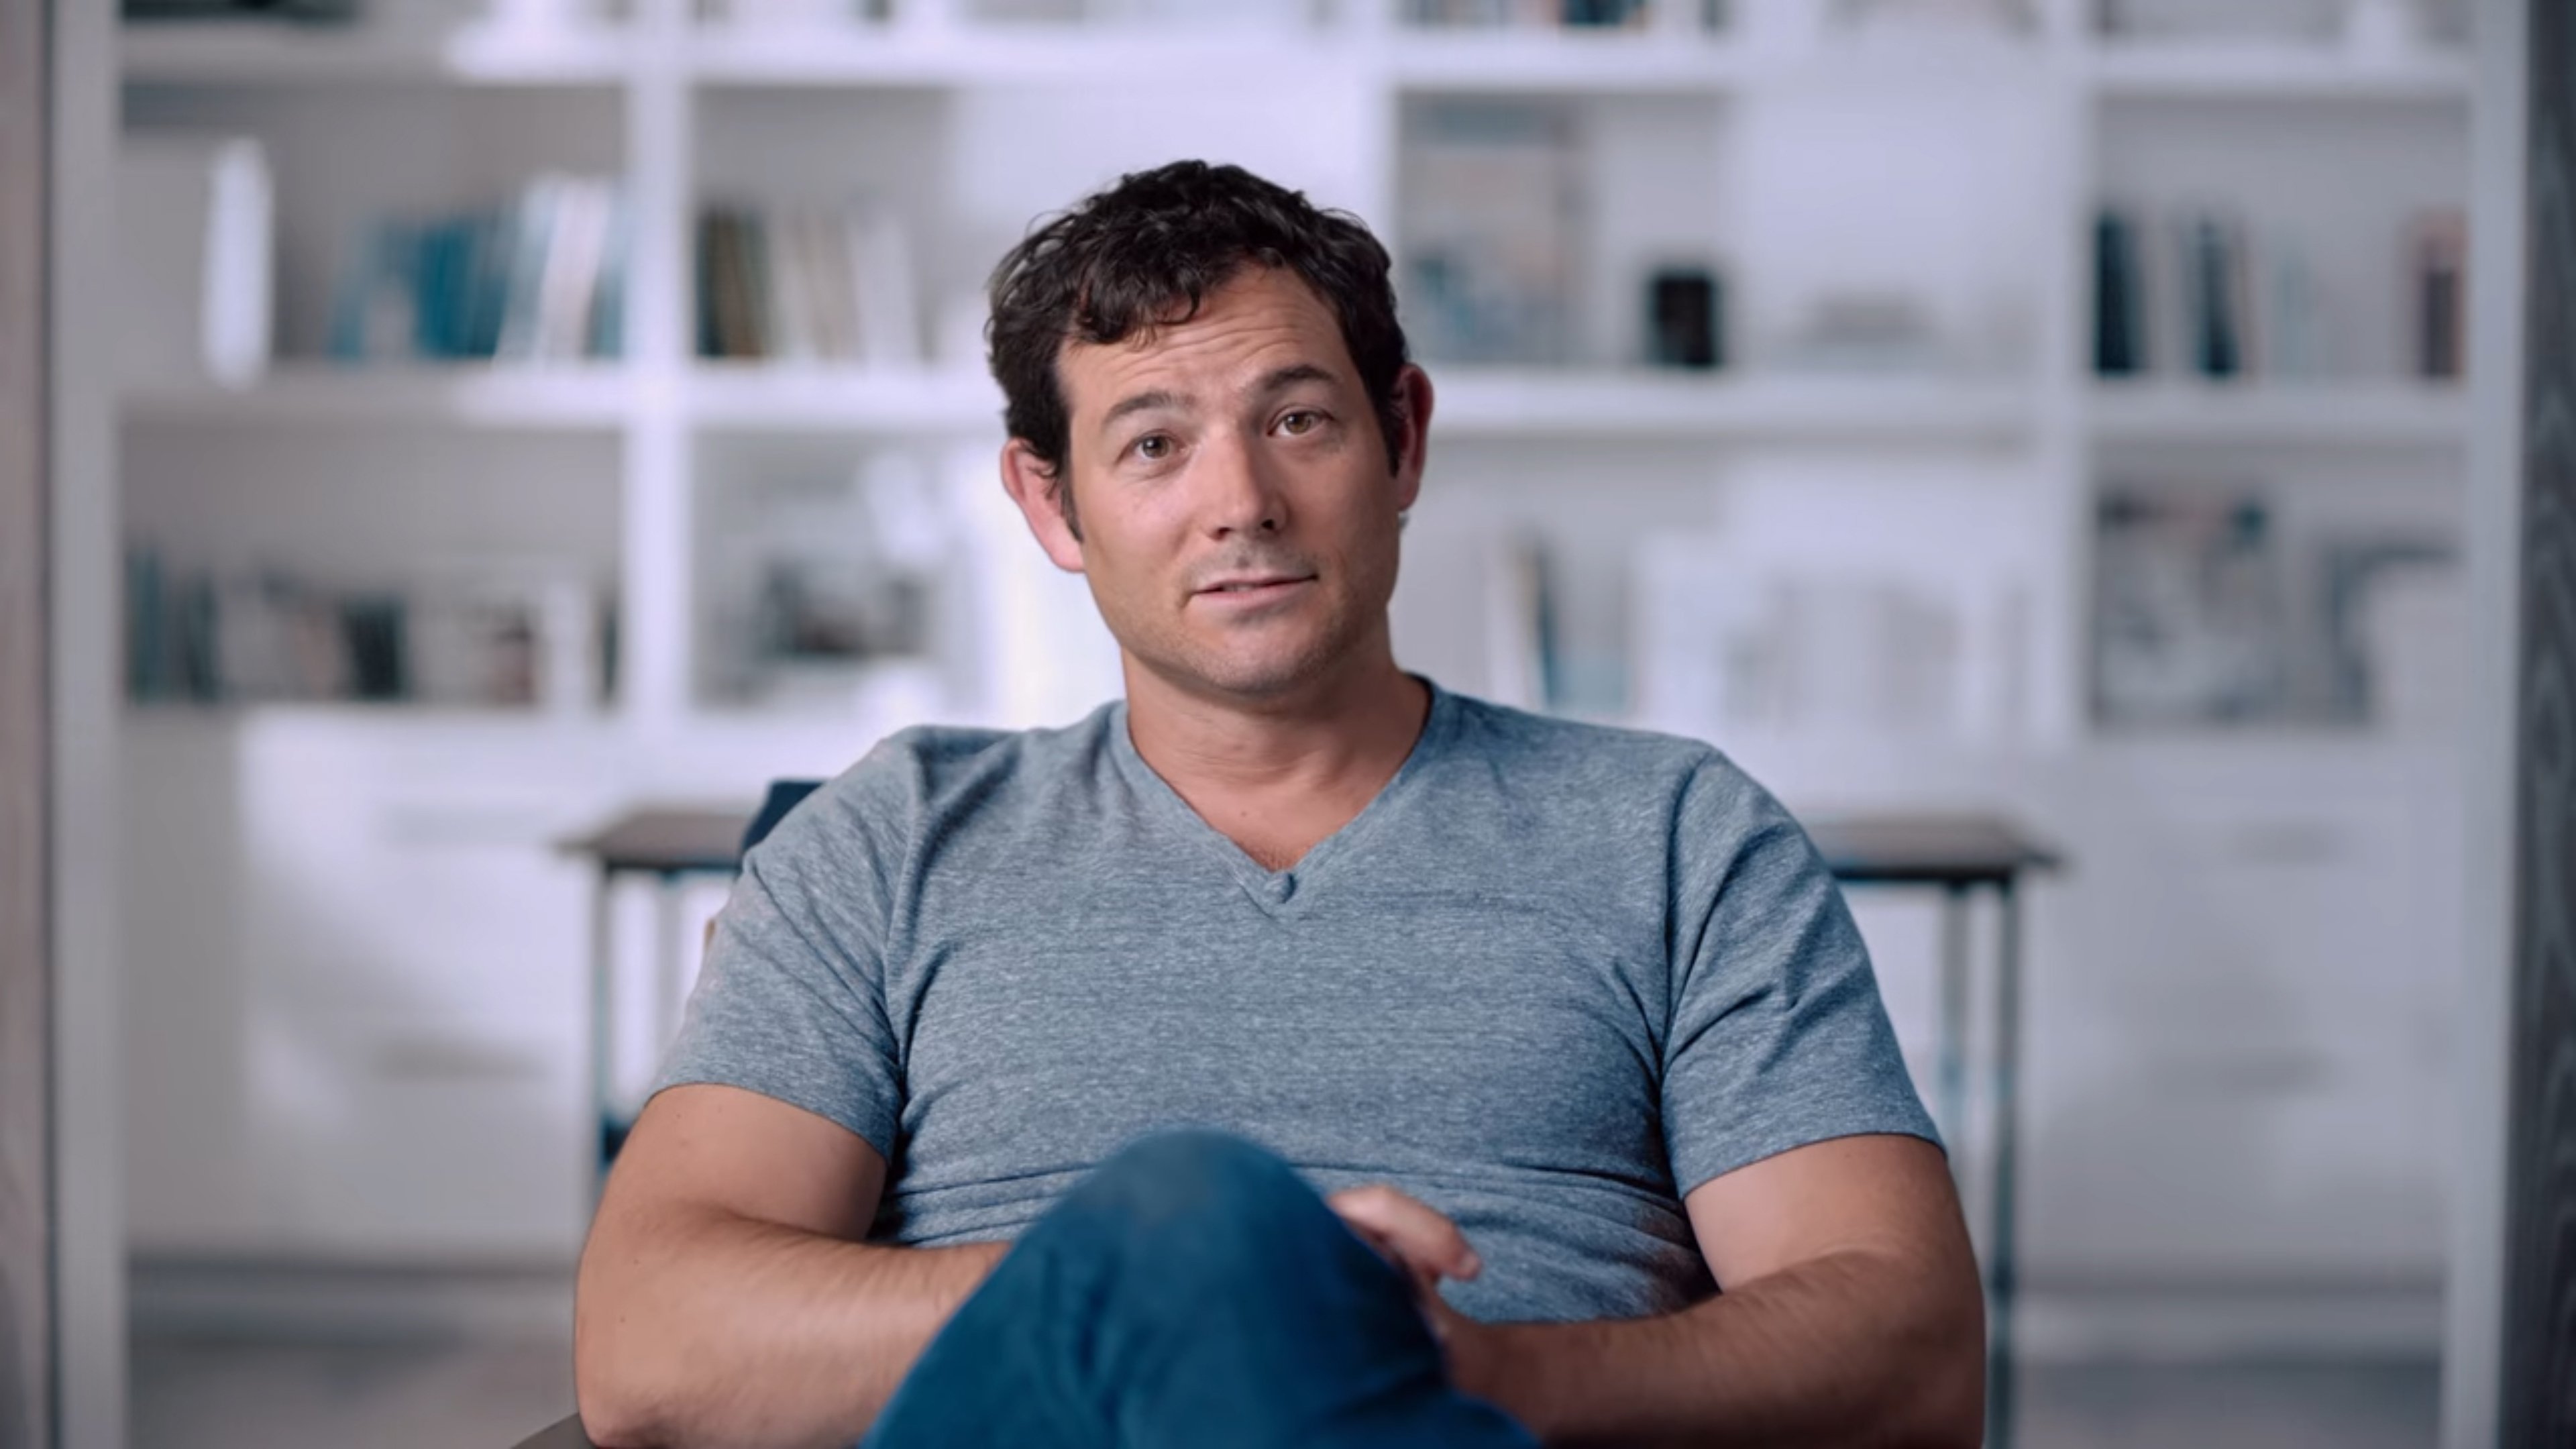
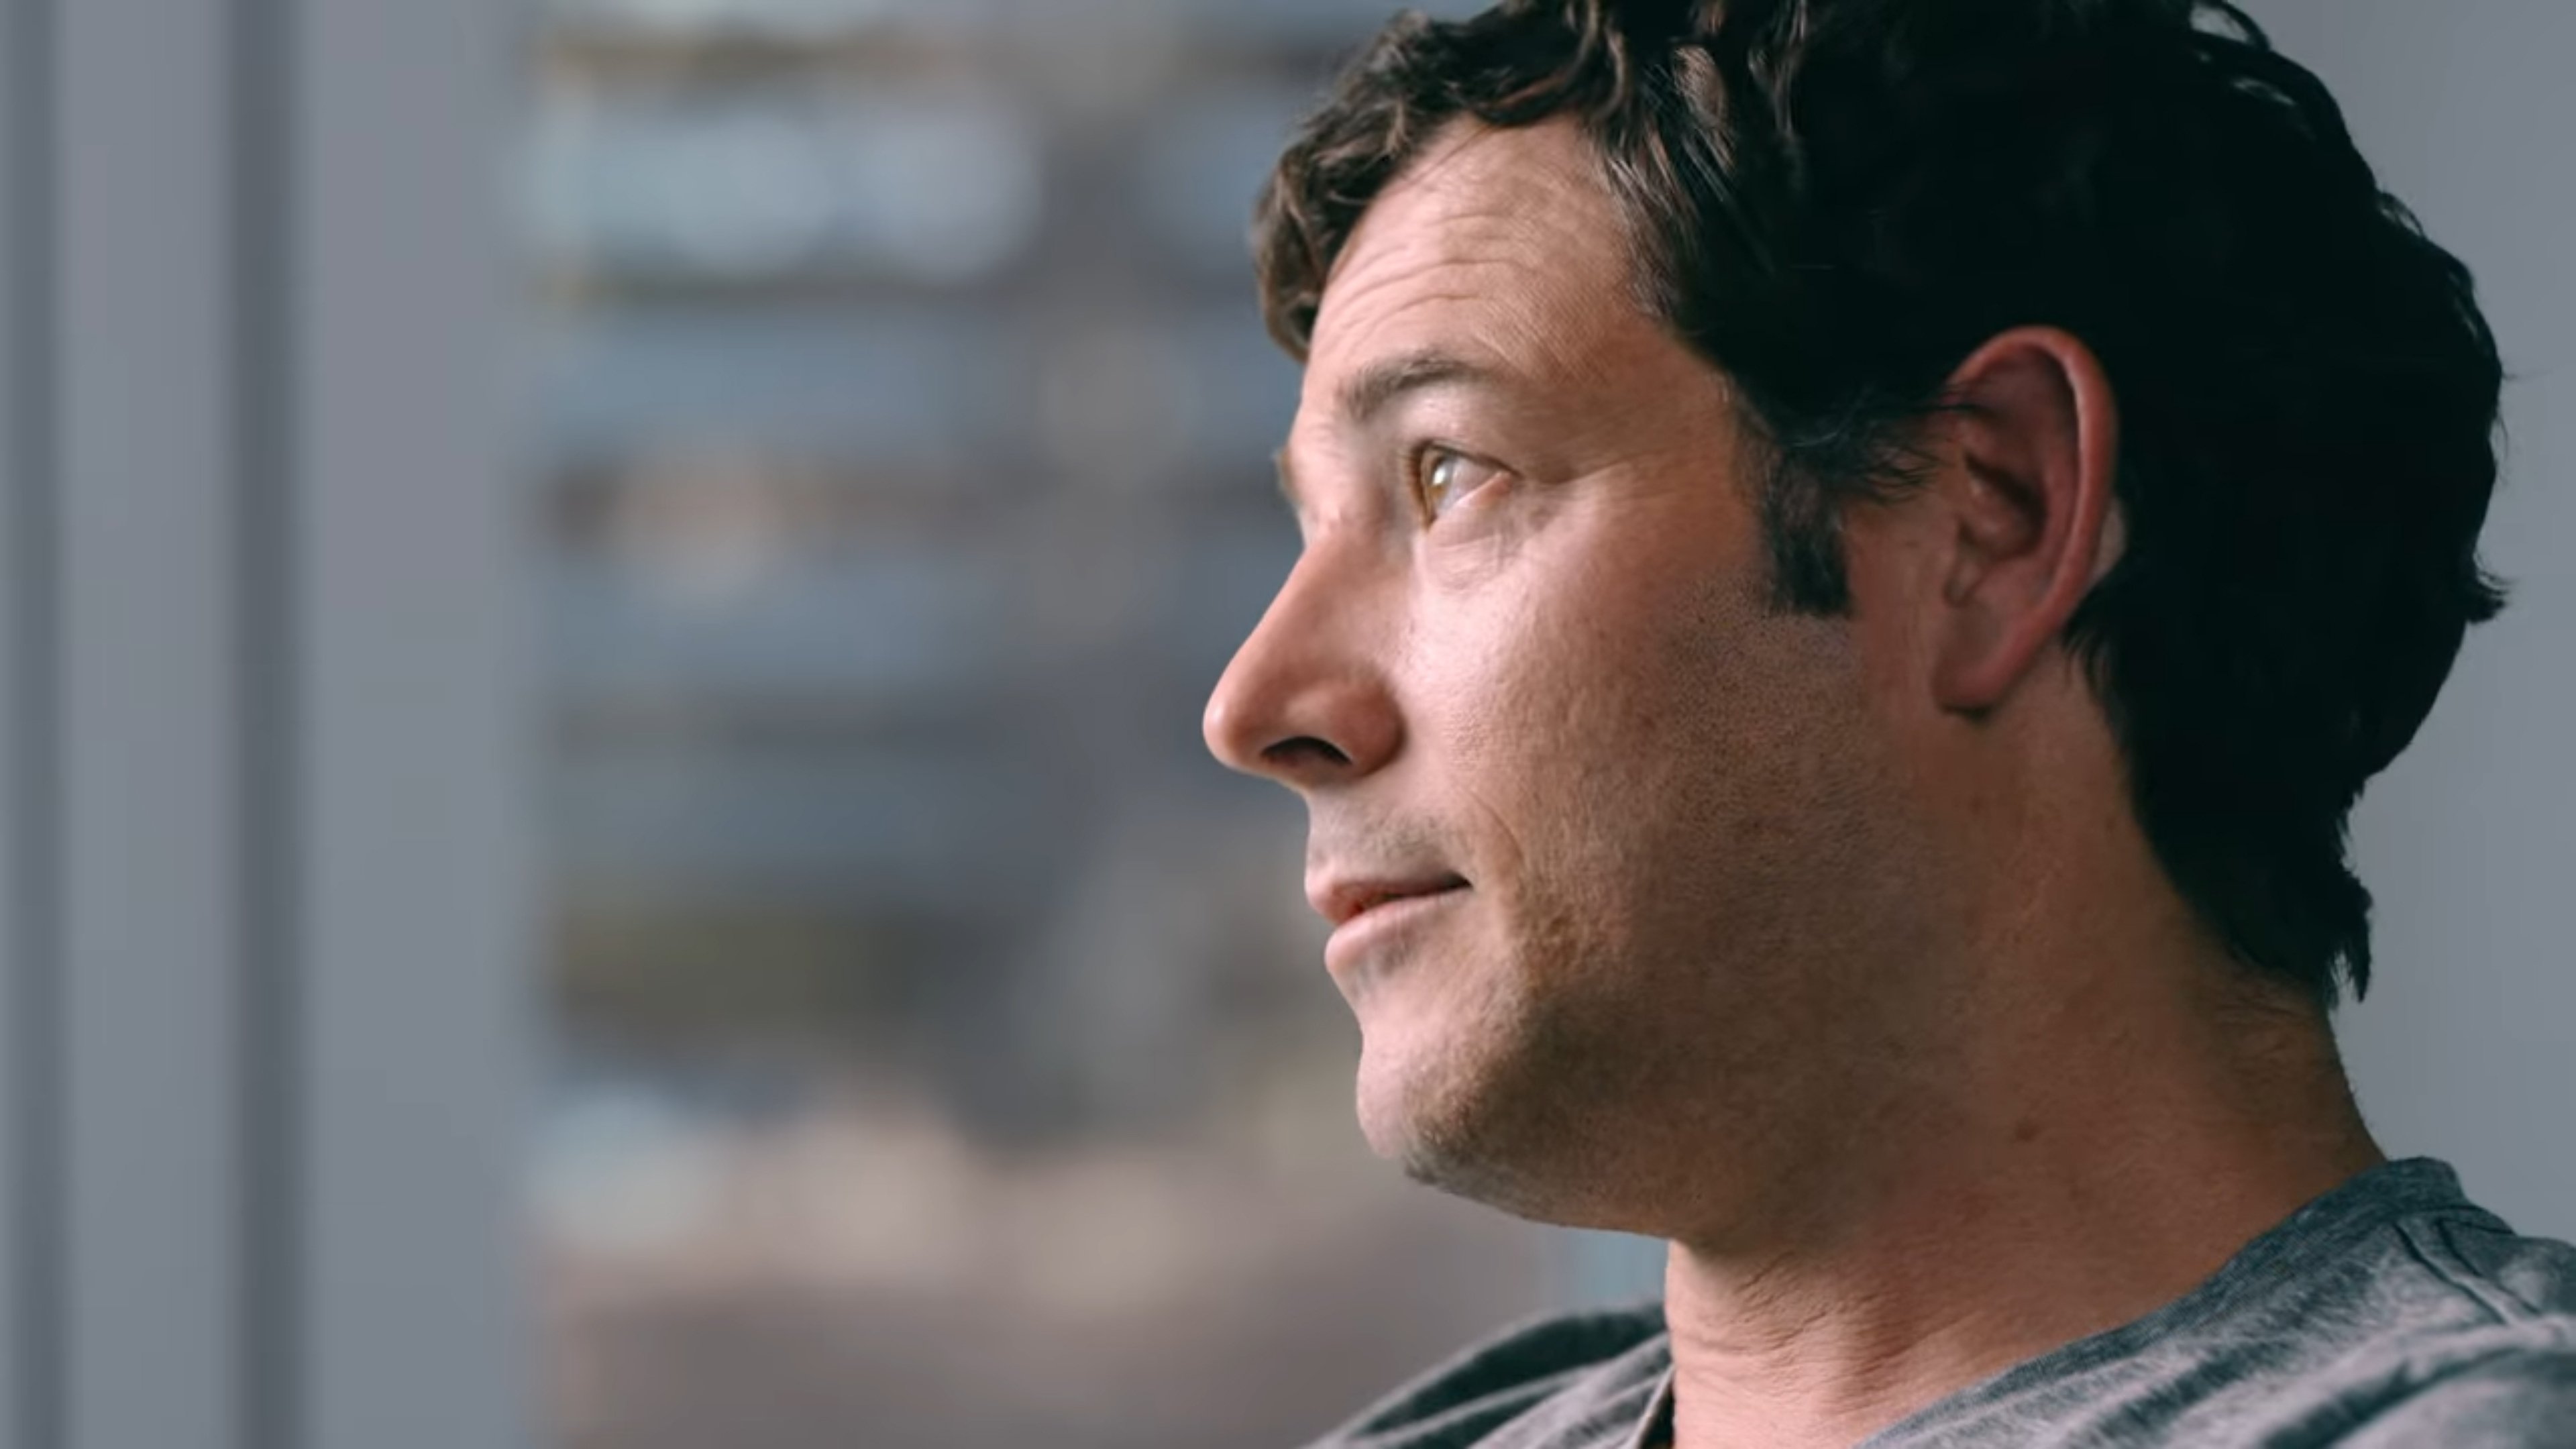
A classic variation of shadow-side can be seen in “Rembrandt-style” lighting, where the key source is off to one side and above the eye line to create a triangle-shaped highlight on the cheek of the side in shadow — a prototypical “portrait”-style look. Depending on the documentary’s style, you might even want a naturalistic effect, like sunlight dappled by a tree. Some talking heads are shot in front of a green screen, a fixed pattern or colored background, or even silhouetted to protect the speakers’ identities.
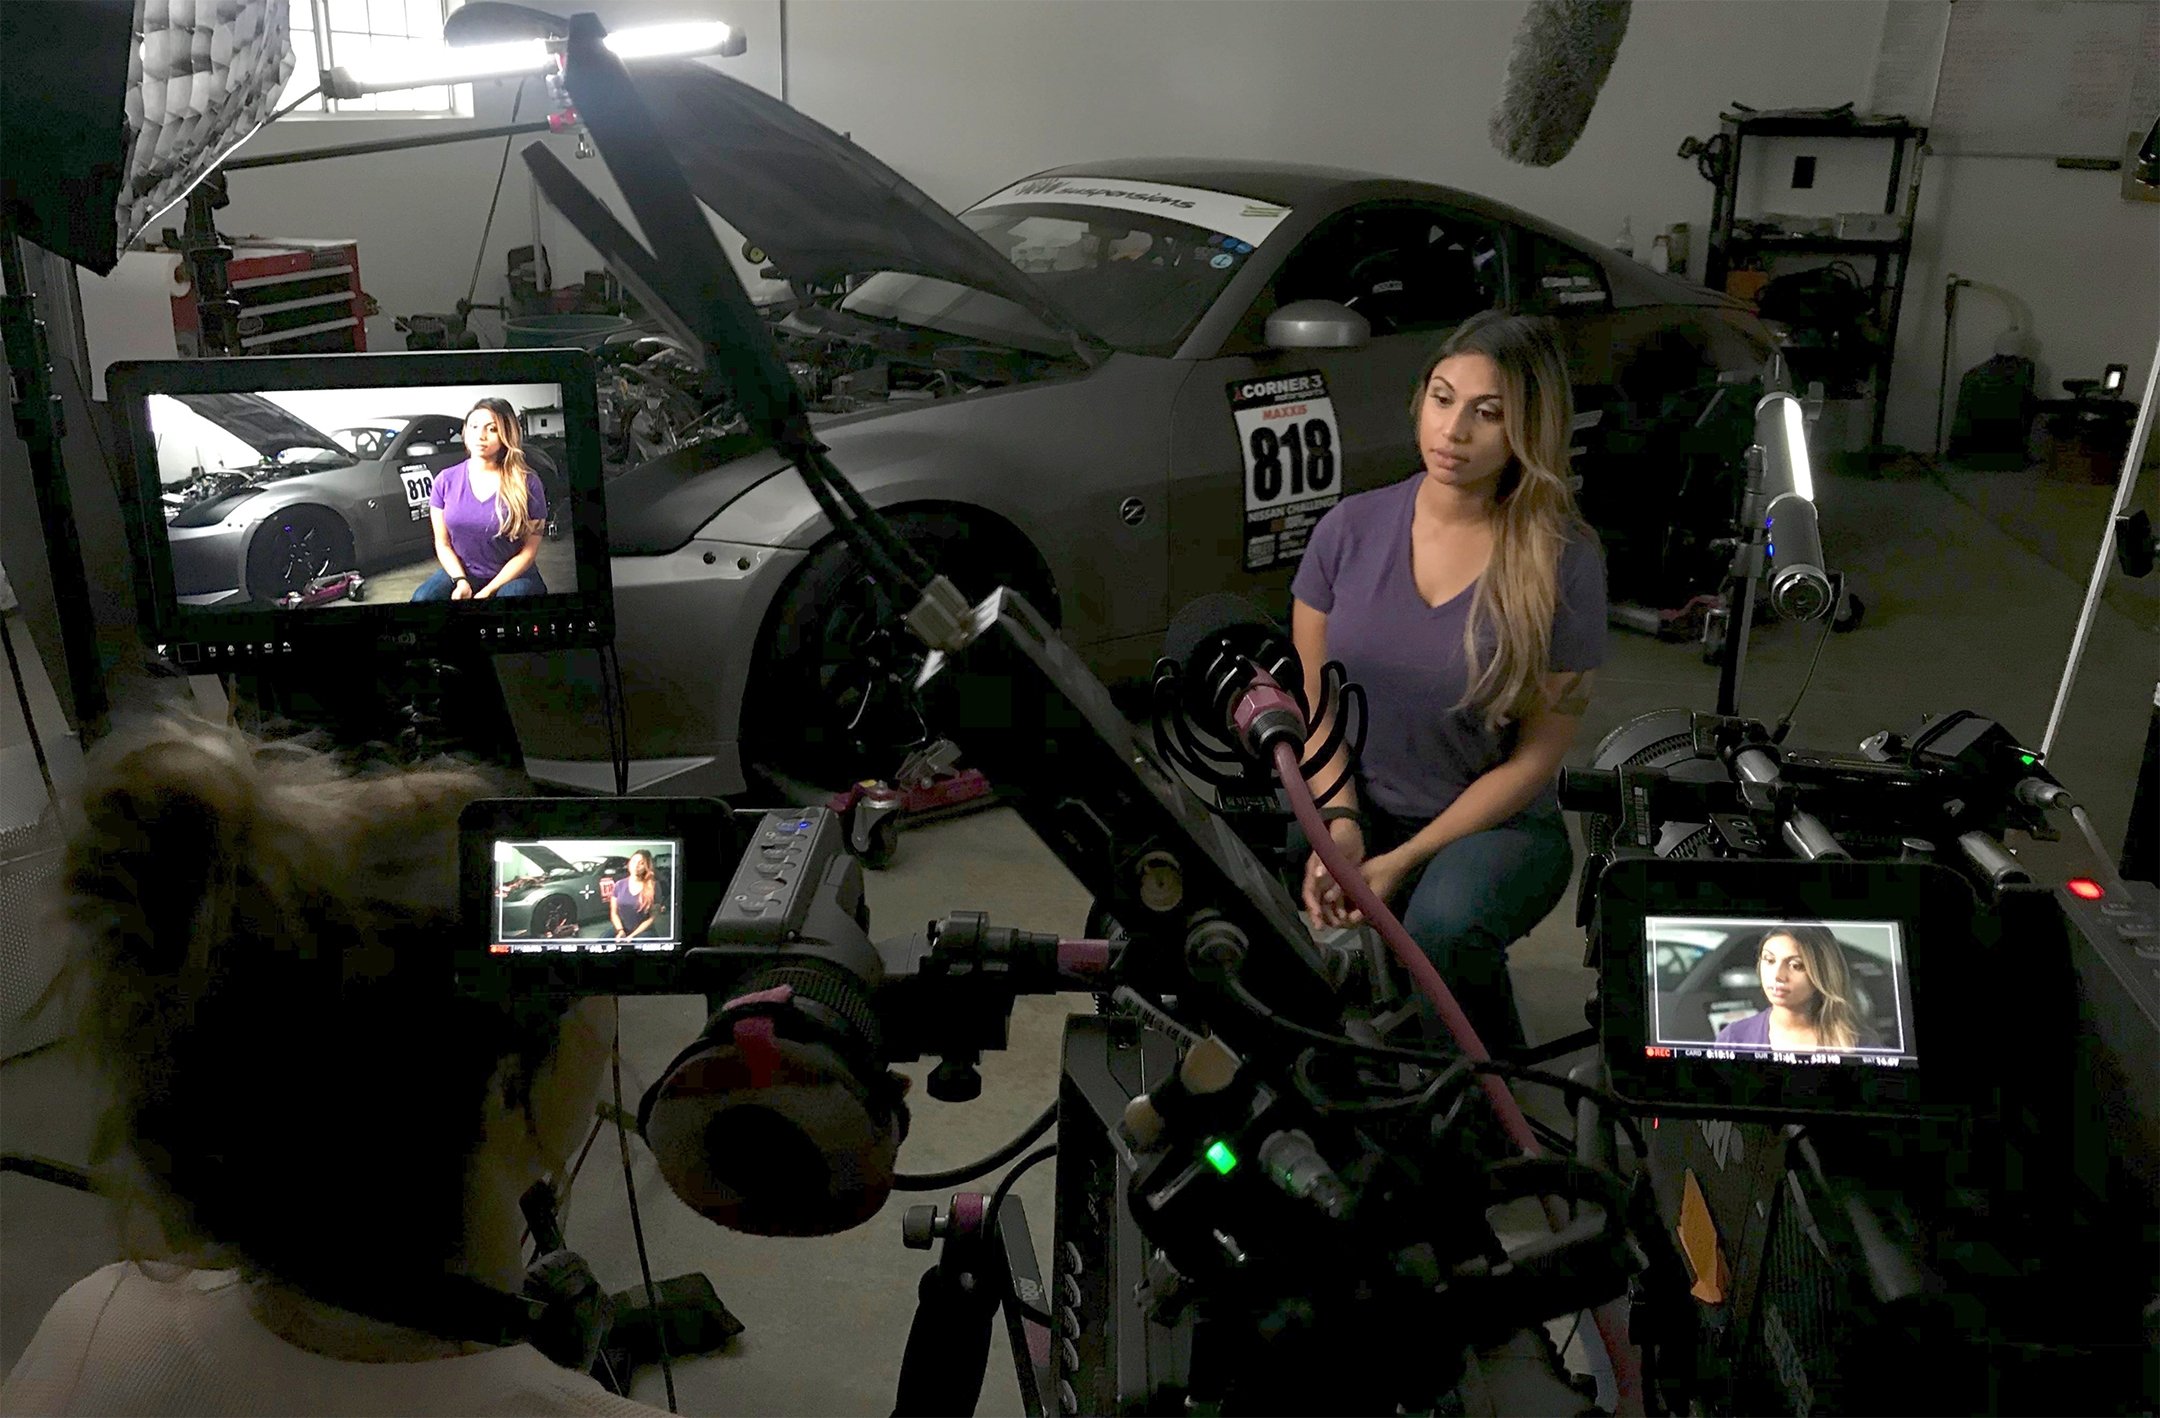
Documentary interviews are often conducted where the subject lives or works. This can present the cinematographer with many complications, including mixed color temperatures, mixed sources, harsh architectural lighting and bland backgrounds. You must be able to adapt to all of these situations and be especially flexible, as documentary filmmakers frequently work with limited resources. LED lighting fixtures will give you a lot of flexibility, as they are lightweight, energy-efficient — and, typically, both daylight and tungsten color-balanced.
Creating color contrast in lighting can add depth and interest to the frame. Allowing the background to go a little cooler while the subject is a bit warmer can provide a chromatic separation that enables the subject to “pop” in the frame. In nature, shorter light waves get filtered out by atmospheric factors, so objects in the distance appear bluer than objects close to the viewer. Therefore, by making your backgrounds slightly cooler than the foreground, you’re accentuating this concept and adding perceived depth to the image.
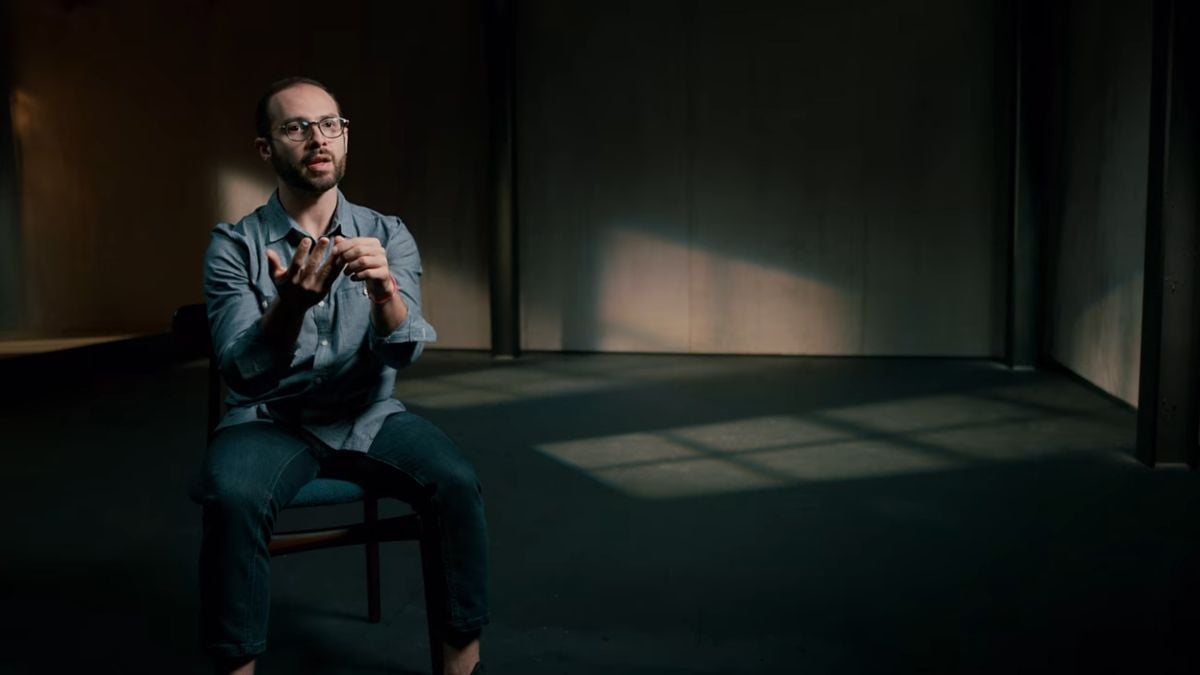
Choosing the Location
If you and the director aren’t filming interviews against a fixed background — such as a greenscreen, a black curtain or a pre-made backdrop — you must choose the right background for the subject. This is where the cinematographer can have the most influence over the look of the talking-head interview. Choosing an area near a large window can go a long way toward simplifying lighting and creating a pleasing, natural look, and understanding how to position the subject in relation to the window will help you refine that look. A common technique is to position the subject so that the window provides the key light — essentially in front of the subject, yet off to one side.
Try to avoid placing the subject directly against walls and corners, as this creates a flat image. Rather, placing the camera at an angle to walls can helpfully generate leading lines of perspective as opposed to flat planes. Including interesting aspects of the location in the background, away from the subject, can create visual complexity, but make sure it isn’t too “busy.” Windows are wonderful for natural daylight — but you must be aware of what’s visible through the window, such as pedestrians or vehicle traffic, since they can produce distracting motion or light in the frame.
Eyelines
The subject’s eyeline is critical in the documentary interview. Typically, it is just to one side of the camera as the person speaks to an off-camera interviewer. This gives the audience a sense that the subject is in conversation with someone. It also allows for shadow-side key lighting, as the subject is slightly turned away from the lens. Generally, this is accomplished by placing the interviewer close to the lens.
When a documentary features interviews with multiple subjects, it’s often considered a best practice to create alternate eyelines for each interviewee by changing the side of the camera that the interviewer is on. Having alternating subject eyelines helps create a cohesion in the edit, where disparate interviewees appear to the audience as if they could be having a conversation with one another.
If a subject is meant to directly address the audience, the eyeline is straight at the lens, but be aware that this can be intimidating for people who are not accustomed to speaking to the camera. Without having an interviewer to look at and speak to, the subject can become nervous and self-conscious. To solve this problem, noted documentarian Errol Morris created a device called the Interrotron, which he employed on such documentaries as the Academy Award-winning The Fog of War (AC March ’04) — about former U.S. Secretary of Defense Robert S. McNamara, with interviews shot by cinematographer Robert Chappell.
The subject’s eyeline is critical in the documentary interview.
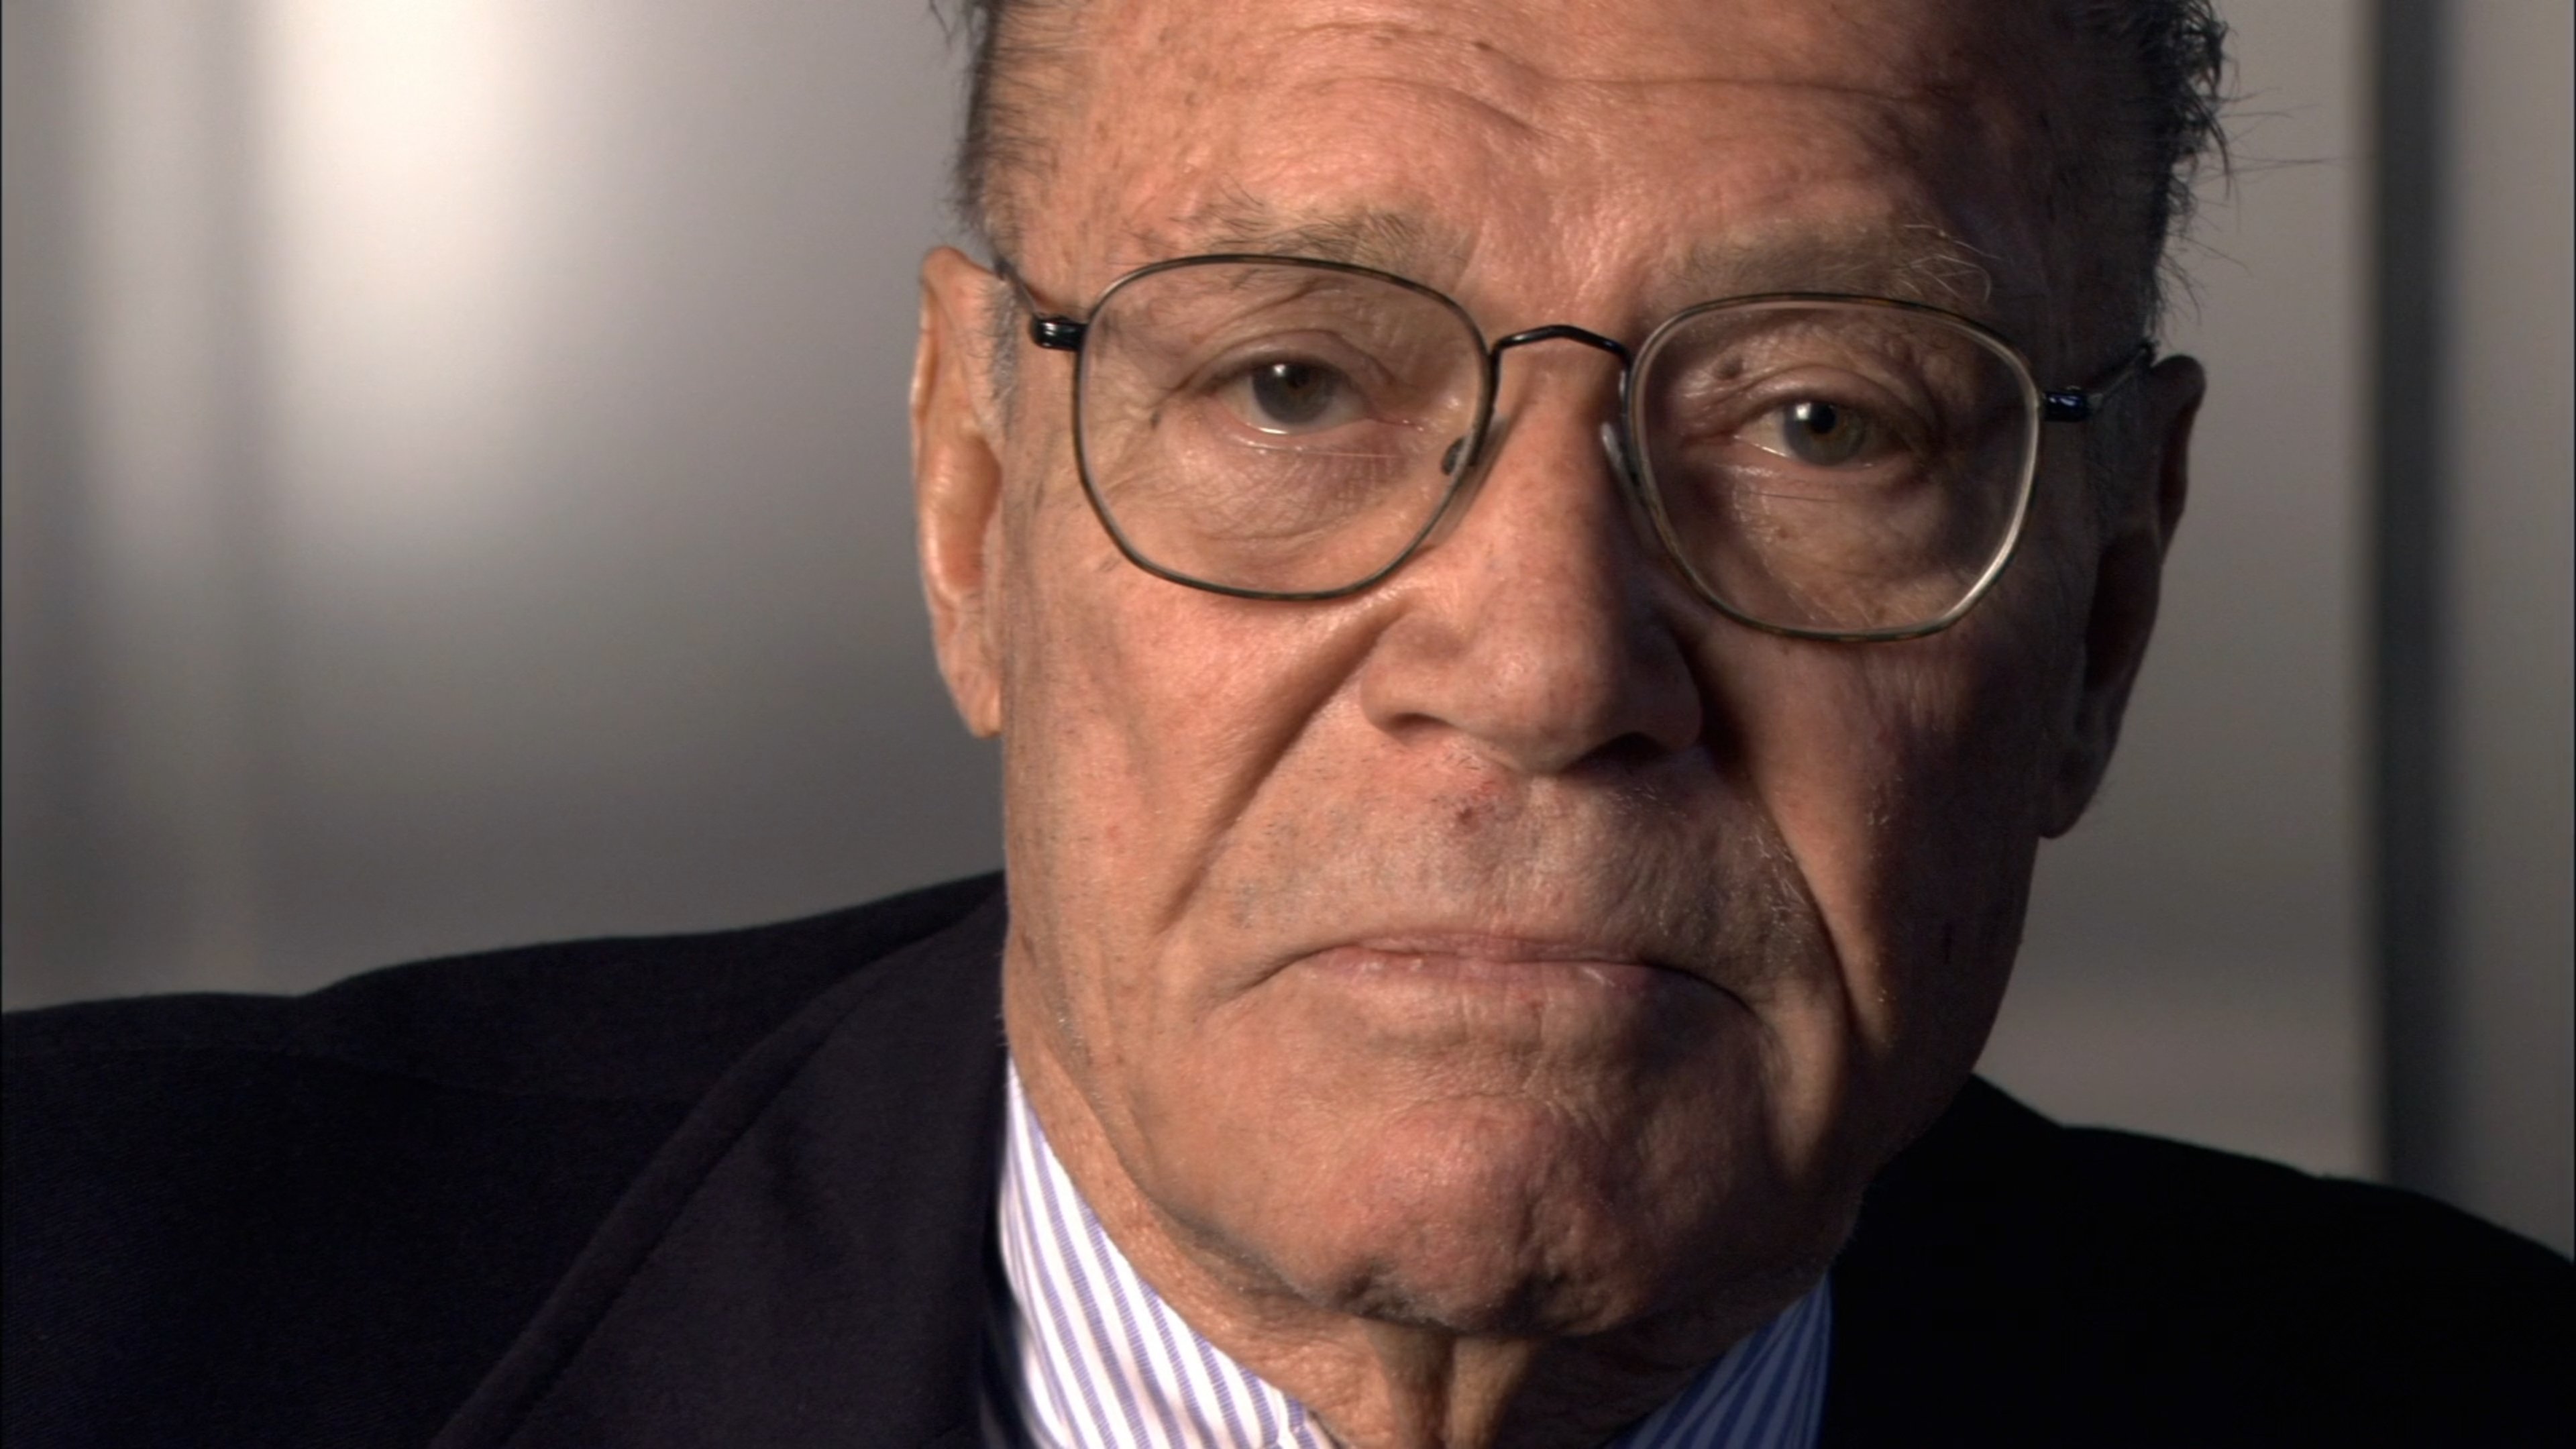
The Interrotron is a variation of a teleprompter, but instead of providing a script in front of the lens, it supplies a video image of the interviewer on a half-mirror placed in front of the lens; this allows the interviewee to see and talk to the interviewer while looking directly into the lens. Additionally, the Interrotron incorporates a second teleprompter-style half-mirror so the interviewer can clearly see the interviewee, and they can have a natural conversation while maintaining the desired eyeline. A similar tool is the EyeDirect, which uses a large mirror and half-mirror in front of the lens to provide a reflection of the interviewer to the subject, and a mirror reflection of the subject for the interviewer to see.
Incorporating Multiple Cameras
Because the talking-head interview is rarely a scripted performance, it behooves the filmmaker to capture the interview from multiple simultaneous perspectives to provide edit points. This means that many interviews are shot with two or more cameras. How additional cameras are incorporated is a matter of aesthetics. In some cases, a second camera is “stacked,” positioned directly above or below the main camera to maintain continuity of eyeline with a different focal length or frame size. This provides the opportunity for jump cuts that make use of two slightly different perspectives — another stylistic choice. More commonly, the second camera is positioned farther off to the side, sometimes even far enough to capture the subject in profile. In such instances, both cameras should be on the same side of the eyeline so that the second camera doesn’t jump the established “180-degree line” that extends from the eyes of the subject to the off-camera interviewer.
Allowing the background to go a little cooler while the subject is a bit warmer can provide a chromatic separation that enables the subject to “pop” in the frame.
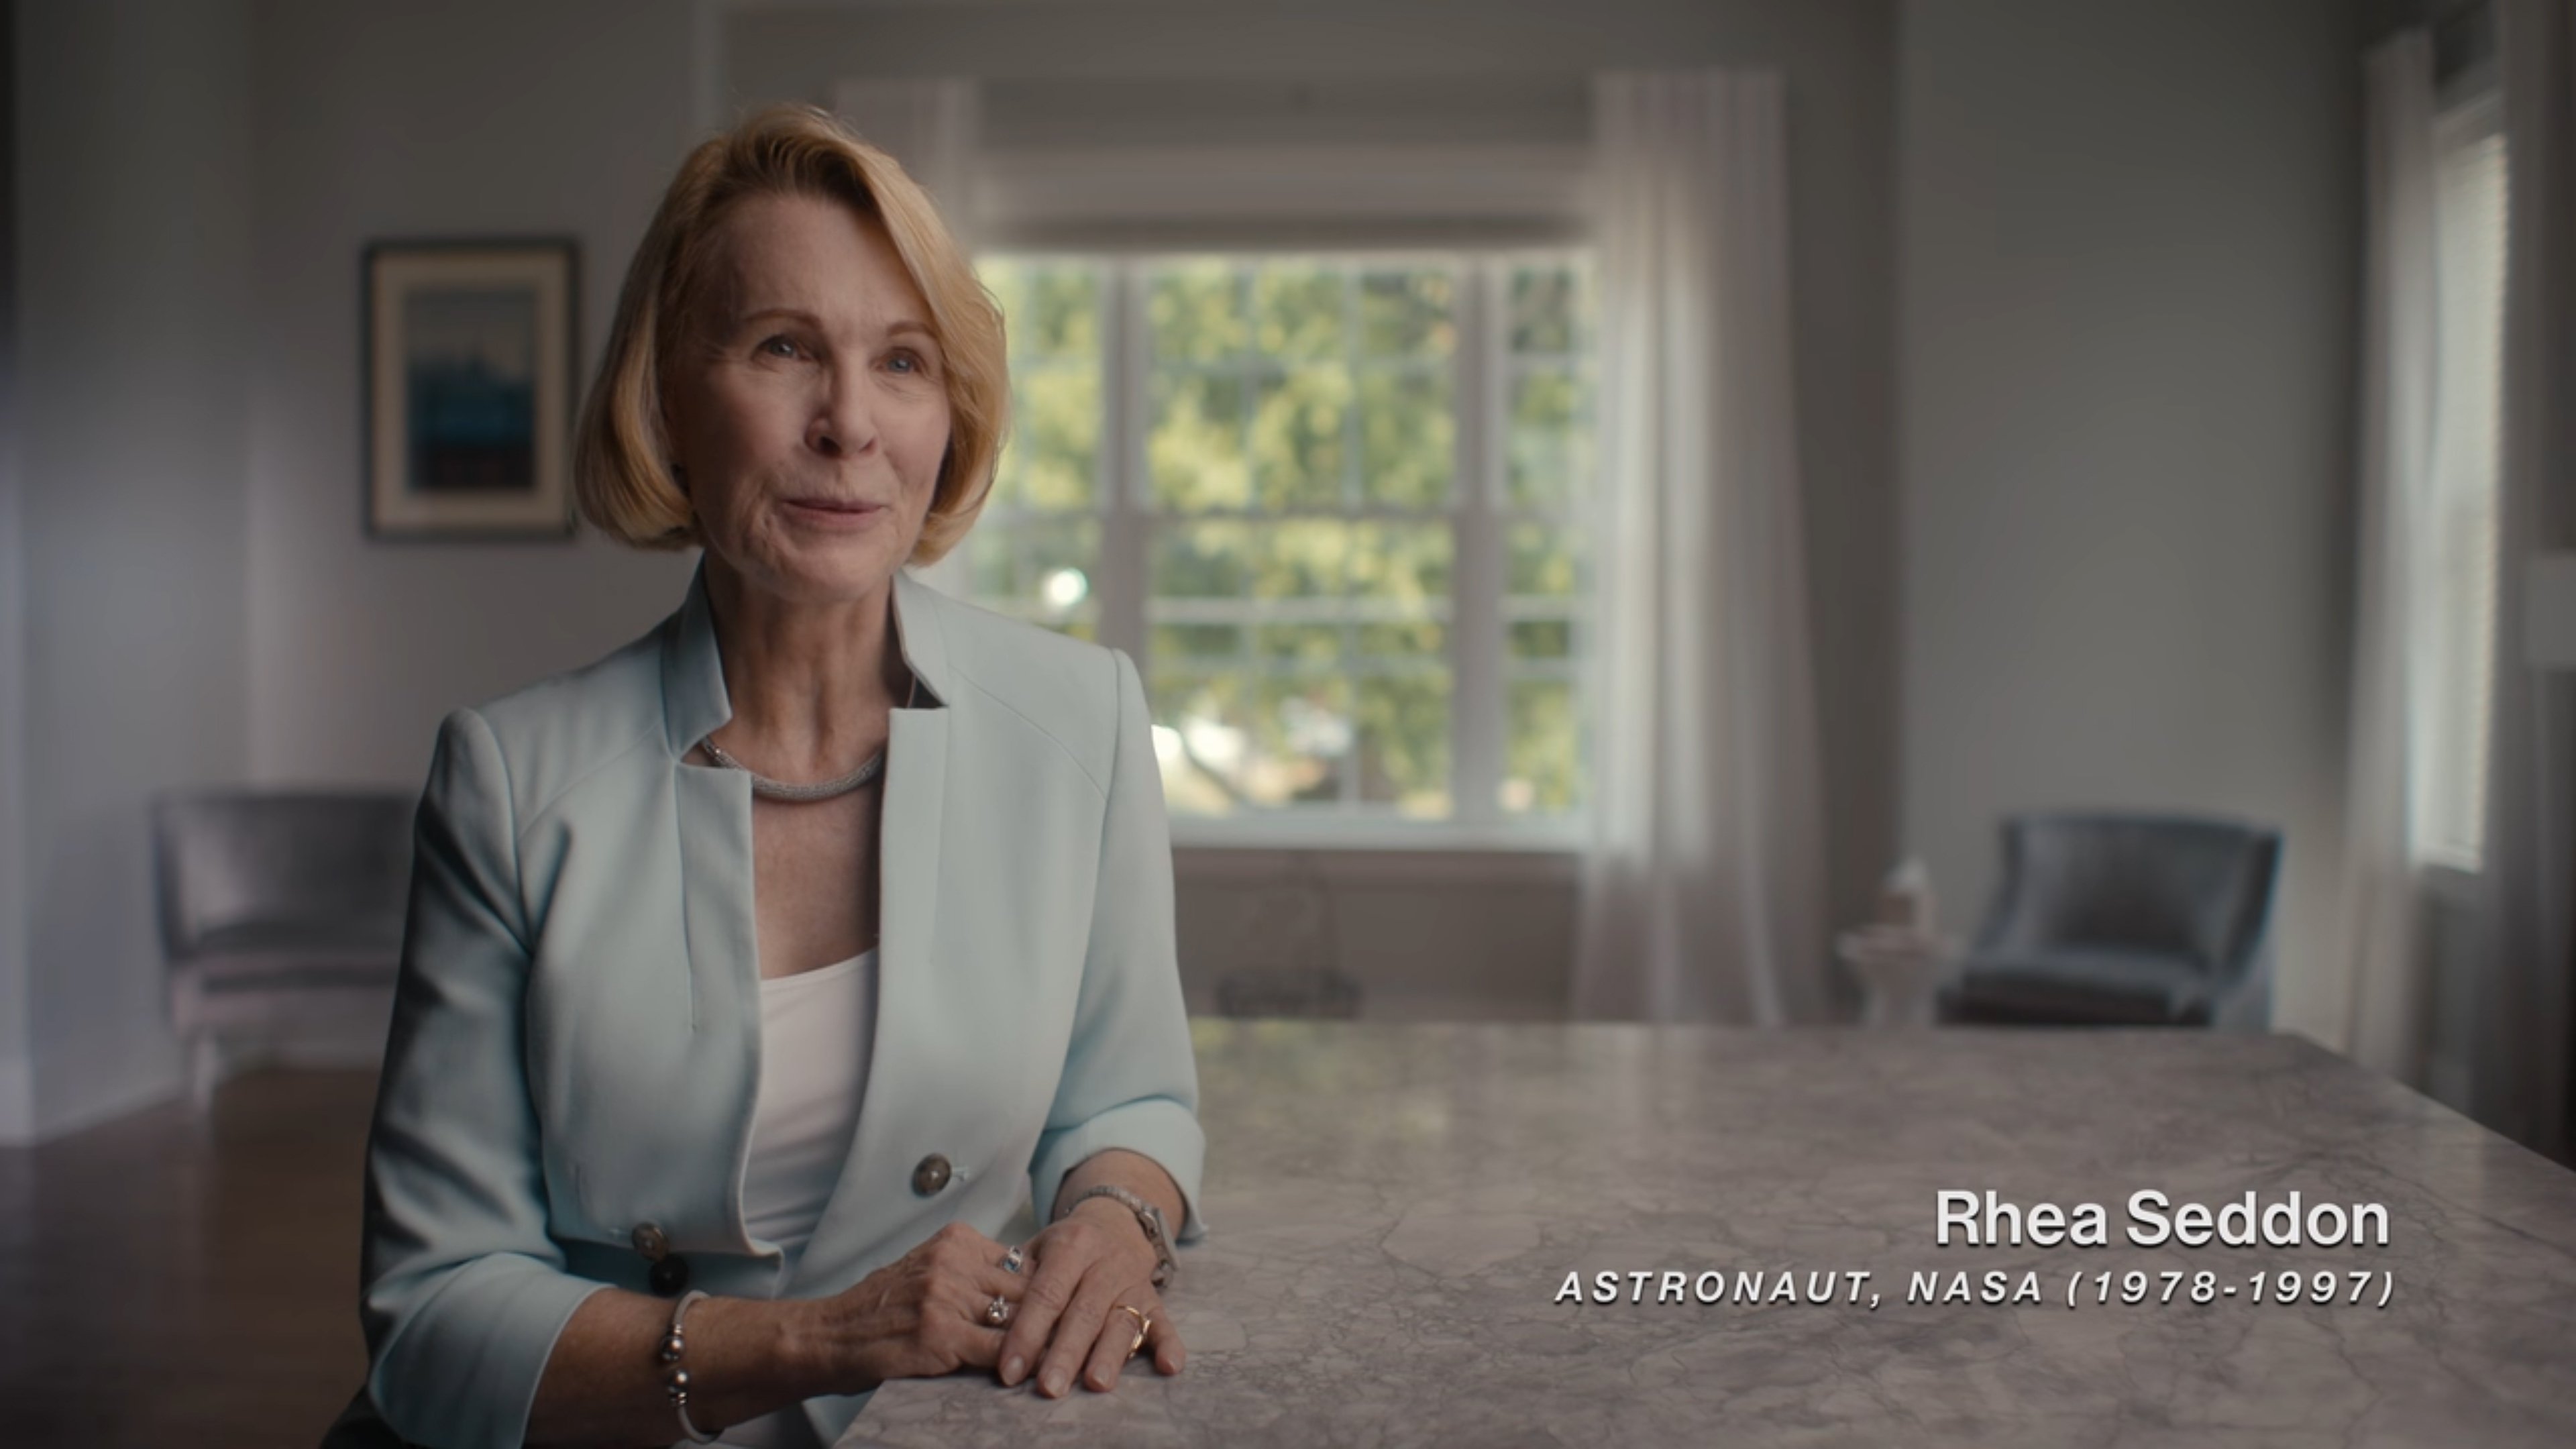
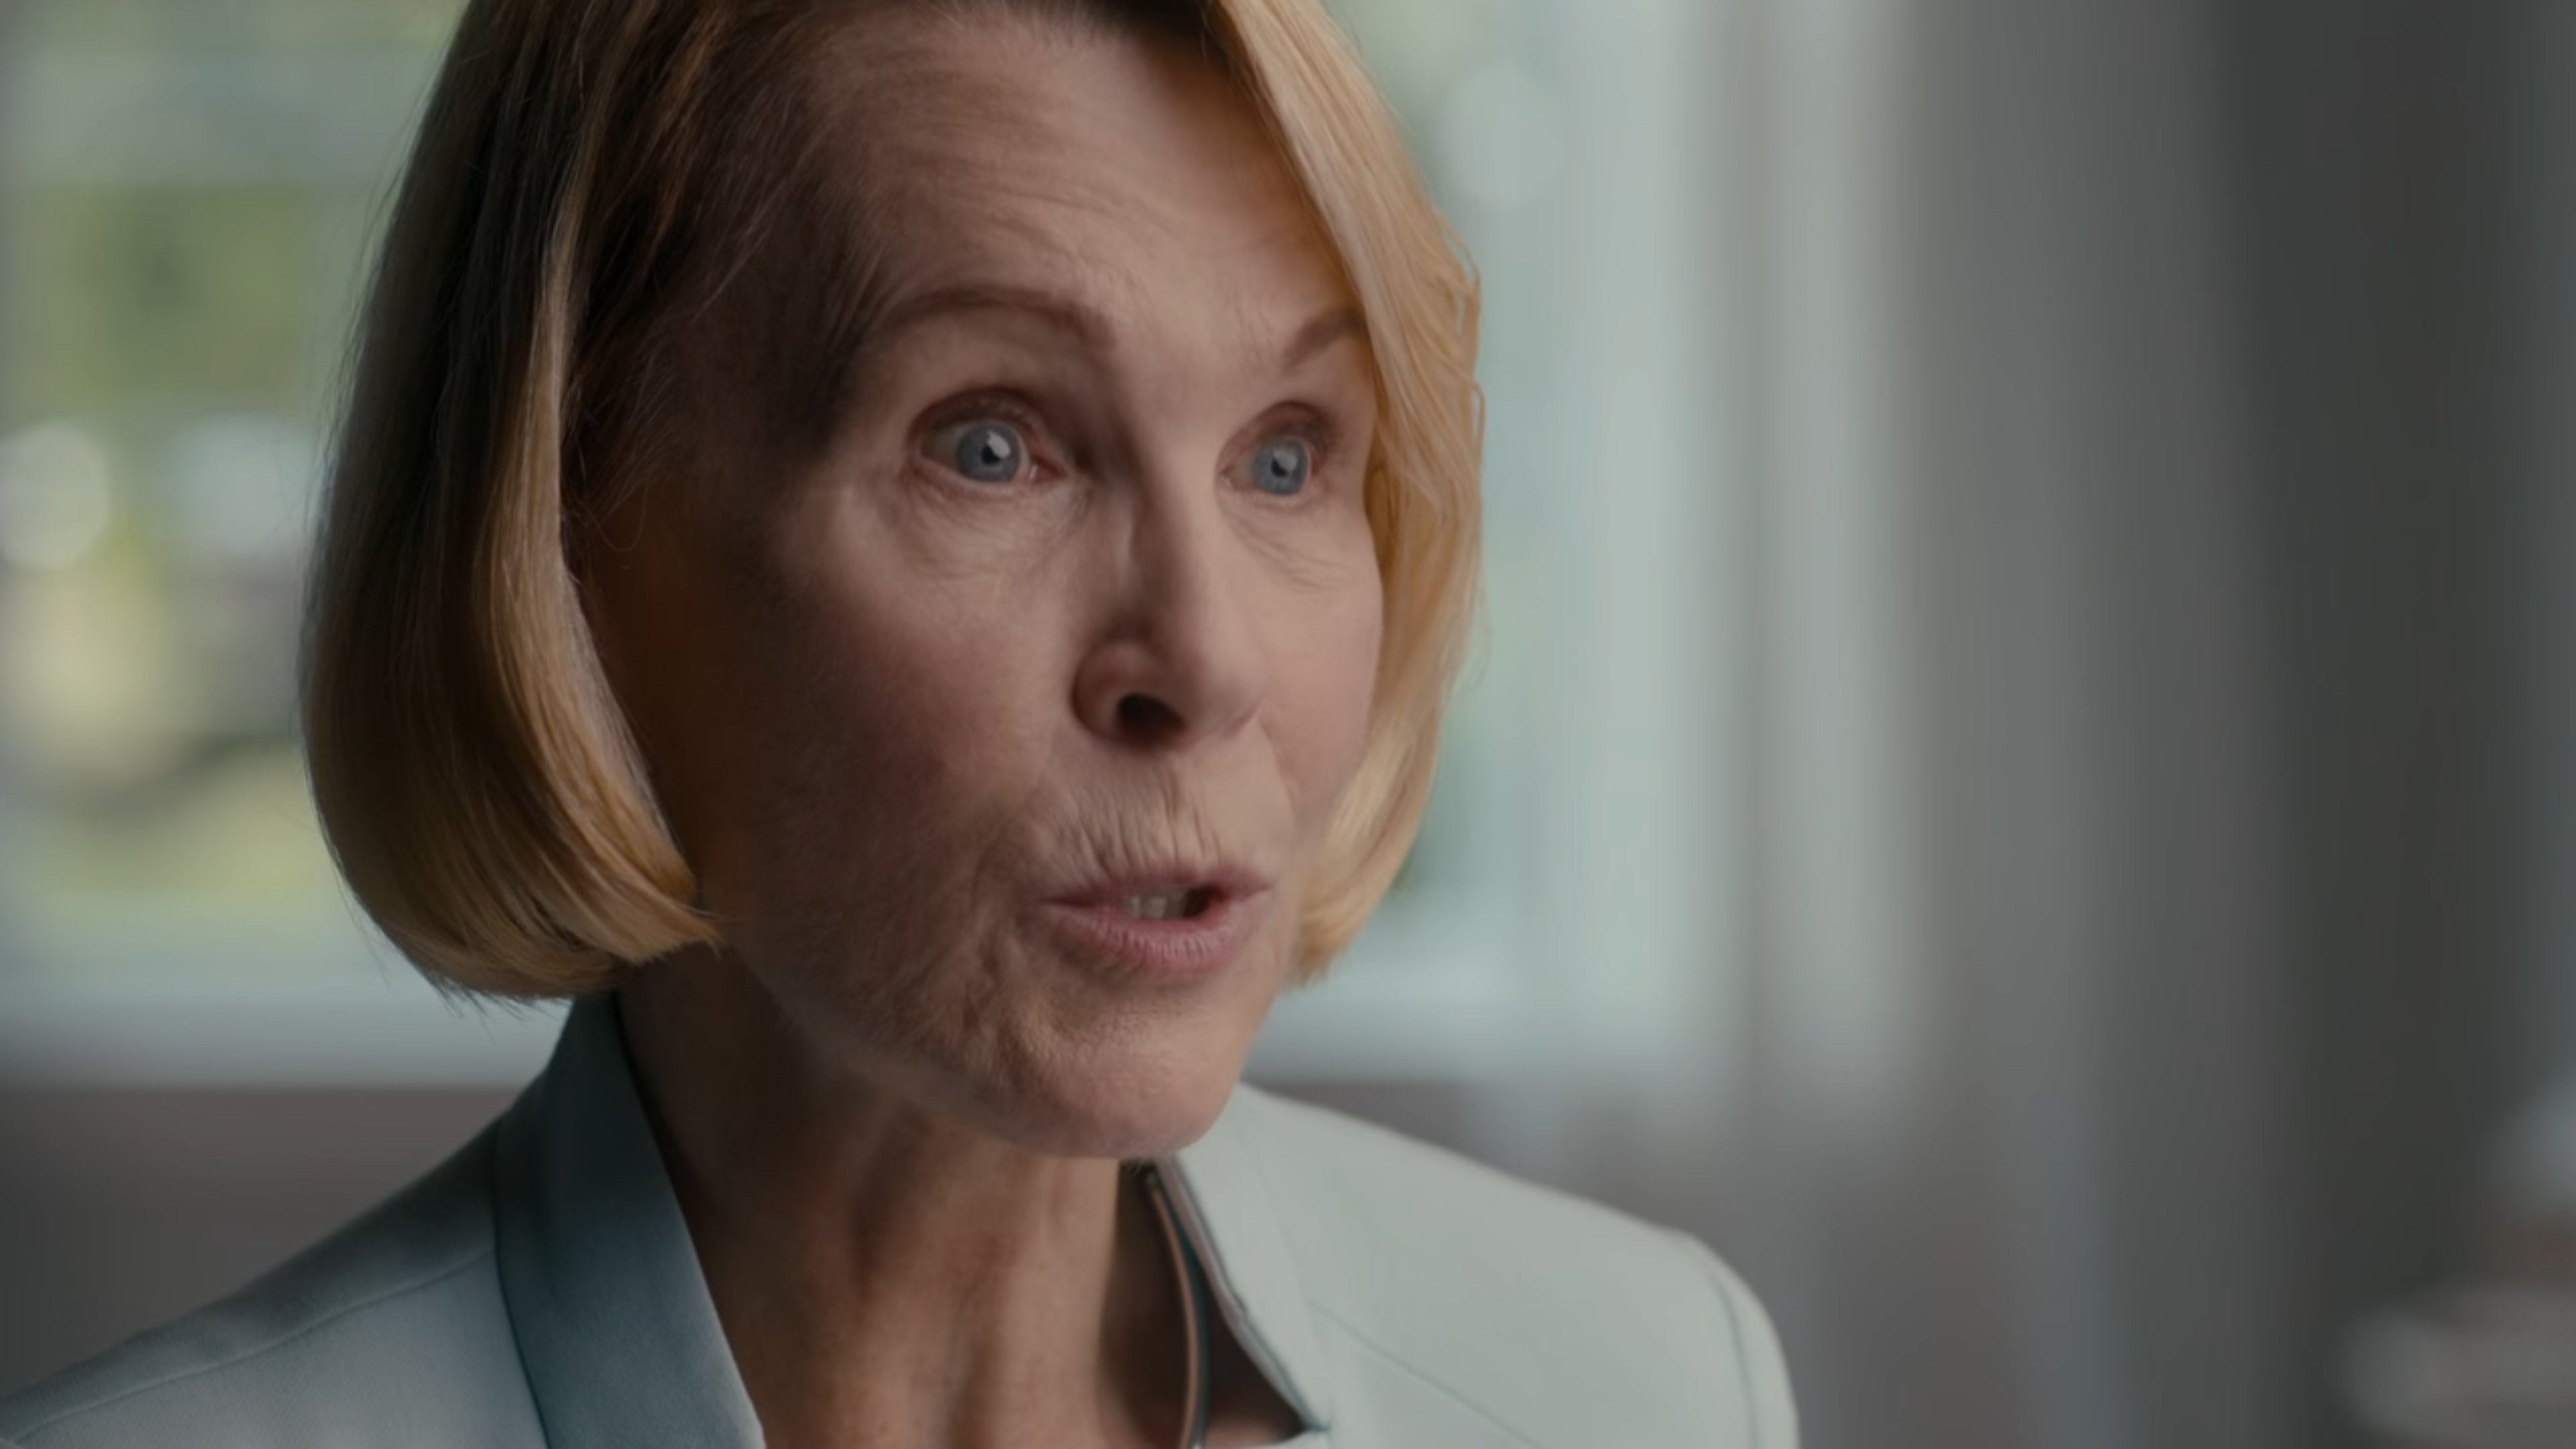
“Rules” for using a second camera to shoot talking-head segments is the topic of some debate among documentary filmmakers. Should the primary camera have the closer lens (i.e., longer focal length or physically closer) and the secondary camera be wider? Or vice versa? My own preference is for the secondary camera to be wider (unless it creates a more drastic side-profile angle, in which case it should be longer). This allows the primary camera, with the longer or closer lens, to have a more intimate connection with the subject’s eyeline, and the wider camera, where the direct connection isn’t as strong, to have a looser connection with that eyeline. (See “Lens Selections,” below.)
A second or third camera can also capture B-roll footage — such as shots of the subject’s hands, their environment or objects they’re discussing — to provide editorial cut points. It’s also possible to accomplish all this with a single camera by continuing to shoot casual conversation after the interview is over, or directing the subject to repeat movements so you can create cut-away moments.
Lens Selections
In my experience, nothing beats a zoom lens for documentary work. It gives you the flexibility to alter the relationship between camera and subject on the fly as you’re shooting. Even in talking-head interviews, a zoom allows for quick compositional adjustments without significantly distracting the interviewee and interviewer from the conversation at hand. Zooms even allow for adjustments to be made during the conversation. (During the interviewer’s questions, the cinematographer can quickly reframe the composition on the subject.) They also provide dynamic mid-conversation focal-length alterations. For instance, as the subject discusses an emotional topic, the cinematographer has the ability to slowly push into a tighter composition to underscore the drama of the moment.
However, some cinematographers prefer prime lenses for documentary work for their faster speed, lighter weight and more compact size. Using primes also creates a certain discipline, in that the cinematographer must change the camera’s position — or the lens — in order to modify a composition.
There is no rule regarding focal length for a talking-head sequence. Some cinematographers prefer wider lenses close to a subject to create intimacy between the subject and the viewer. This is another situation some subjects might find intimidating, but it can also be argued that we live in a society wherein cameras are ubiquitous, and people are fairly comfortable around them or quickly become so.
A more traditional approach is to use a slightly longer focal length a bit farther from the subject. One consideration, however, is background perspective compression. For a given medium-close-up framing, a wider lens closer to the subject will exaggerate the relative distance between the subject and the background (as compared to the distance between the camera and the subject). A longer lens farther away — to maintain the same compositional framing — will compress that distance, both magnifying the background and making it appear closer to the subject.
Additionally, the same compression factor affects the human face. A 100mm lens from 10' away will give a very different rendering of the face than a 10mm lens 1' away. Going too long and too far from the subject will tend to flatten out facial features and even make the subject look heavier. Going too wide and too close can distort and exaggerate their features. There is an aesthetic sweet spot for every face and focal-length combination — which can vary based on objective aesthetics as well as those of the specific production at hand — and finding it takes a bit of trial and error. Using a zoom lens is one way to find it quickly.
Moving the Camera
Some filmmakers prefer to use subtle camera moves during talking-head segments. This can be achieved with the primary camera, but it is more often captured by a secondary camera on a slider or small jib. Handheld operation can provide a kind of immediacy and fly-on-the-wall feeling, but filmmakers should be wary of conducting a long interview while the cinematographer is standing with a heavy camera on their shoulder. Being active with a camera on your shoulder is physically demanding, but standing in place and trying to maintain a steady composition for 30 minutes to an hour (the typical length of an interview) exacerbates the challenge.
Jay Holben is an ASC associate member and AC’s technical editor.

