Primate: Transforming a Vacation Home Into a Deadly Cage
The survival-horror film's cinematographer shares the lighting plan for the production's main setting, and details his strategy for amplifying its oppressive atmosphere.
When I first spoke with Primate director Johannes Roberts, we discussed our shared love of John Carpenter movies. Johannes' brief to me was to make our film look like something commercial that could play on a wide release, and I interpreted that to mean it should feel like a cousin to the 1980s and '90s genre movies I loved when I was growing up. I’m a huge fan of the work of Dean Cundey, ASC from that period, so I let that infuse my visual thinking, as well. I wanted images that would be dark and moody, but not gloomy. I also wanted a luminous night look that would give me atmosphere, but at the same time, help keep the cast looking their best — and one that would give me the best chance to make our in-camera creature suit look great.

Camera and Lenses — Tools to Build Tension
Primate is centered on a tropical retreat turned nightmare: A group of vacationers' stay in a cliffside Hawaii mansion devolves into chaos when Ben (played in a creature suit by Miguel Torres Umba), an adopted chimpanzee living in the house, is bitten by a rabid animal and unleashes a torrent of violence on his guests. Knowing the film would mostly be set in one location, I was keen to find a way to explore that space with the camera in a way that could enhance the drama. I wanted to use a more considered, classical camera style to slowly build tension, and for me that meant shooting in the anamorphic format.
Panavision’s anamorphic lenses have always felt like cinema to me. Their distortion, barreling and flare have always resonated with me, and I love composing for the 2.40:1 frame. I knew we’d be working in tight spaces on this film, so I chose the T-series lenses for their close focus and smaller size. I paired them with a Sony Venice 2 camera package, which I rated at 1,600 ASA on a 3,200 ASA base for the entire film. I lit the sets to a T4.5, knowing I could use their internal NDS to open up to T2.3 for the wider shots, in which I wanted the focus to fall away from the backdrop, whereas for close-ups I could shoot at the deeper T4.5 stop.
Caged-In Environs — Lighting the Main Set and Location
Our fantastic set, built by production designer Simon Bowles, was full of interesting vertical and horizontal shapes and lines, so I used the full width of the 2.40:1 frame to take advantage of that. We had open, high ceilings, so shooting through ceiling fans, from outside the set looking in, or through panels of glass, helped us to slowly build the idea that the characters are locked in a cage.
Most of the film was shot on the aforementioned interior/exterior set, which was built on a stage in Sky Elstree studios in London. This large, three-tiered set was elevated to allow for the depth of the swimming pool, which meant that the set wouldn’t leave a huge amount of space between its top floor and our reds. I needed a lighting solution that I could use across both the stage work and the exterior location.
On the stage, our gaffer, Shawn White, built a series of 20'x20' soft boxes filled with Cineo Quantum 2 LED lights pushing through Full Grid Cloth. Surrounding the set, we used a mix of Dino 24-Light tungstens with checkerboard bubbles and more Cineo Quantum 2 LEDs, so I'd always have the option of both a hard and soft backlight for day, night and evening scenes. Throughout the ceiling, I added Domino LT moving lights, so I could add a hard kicker or an edge light where needed. (See our stage-lighting plan in the diagram and corresponding key below.)
Several of our scenes took the cast from the pool, through the rear of the house (the stage) and into the front of the house (a real location), so I had to make sure we could replicate the stage lighting on
location; we did so by using SkyLite 9Kw LED balloons as our soft ambience, and a mix of our Quantum 2s and Dominos for hard or soft backlight.
The design of the location house was brilliant, but difficult to shoot in, due to its many floor-to-ceiling glass windows and panels. We decided to make a feature of that design by adding extra glass or reflective surfaces where we could — for example, reeded glass doors to separate rooms — but that also put me under more pressure to hide lights and camera reflections.
Gaffer Shawn White built "Noodles," which were Astera Titan and Helios tube lights sleeved in the thick white foam typically used to protect aluminum tubing. We could house these white tubes in black Correx boxes and hide them behind furniture, or rig them behind ceiling beams and panels. The noodles gave a beautiful soft light, and if I needed an even softer key, I could add traditional diffusion frames to them.
For our more mobile Steadicam shots, we would often add a Rosco DMG Dash LED with a silicon diffuser dome on the end of a boom pole as a mobile eye light. I've found that adding an eye light is incredibly useful, especially on visually darker material. It helps give the viewer something to focus on, and it gives your eye a contrast reference, which then allows you to be even darker with the environment lighting.
Ramping Up Drama, From the Pool to the Closet
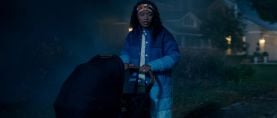
The scene in which Lucy (Johnny Sequoyah) and Kate (Victoria Wyant) quietly sneak from the pool through the house and hide inside of a closet is a great example of how our cinematography worked to enhance Primate's visual drama.
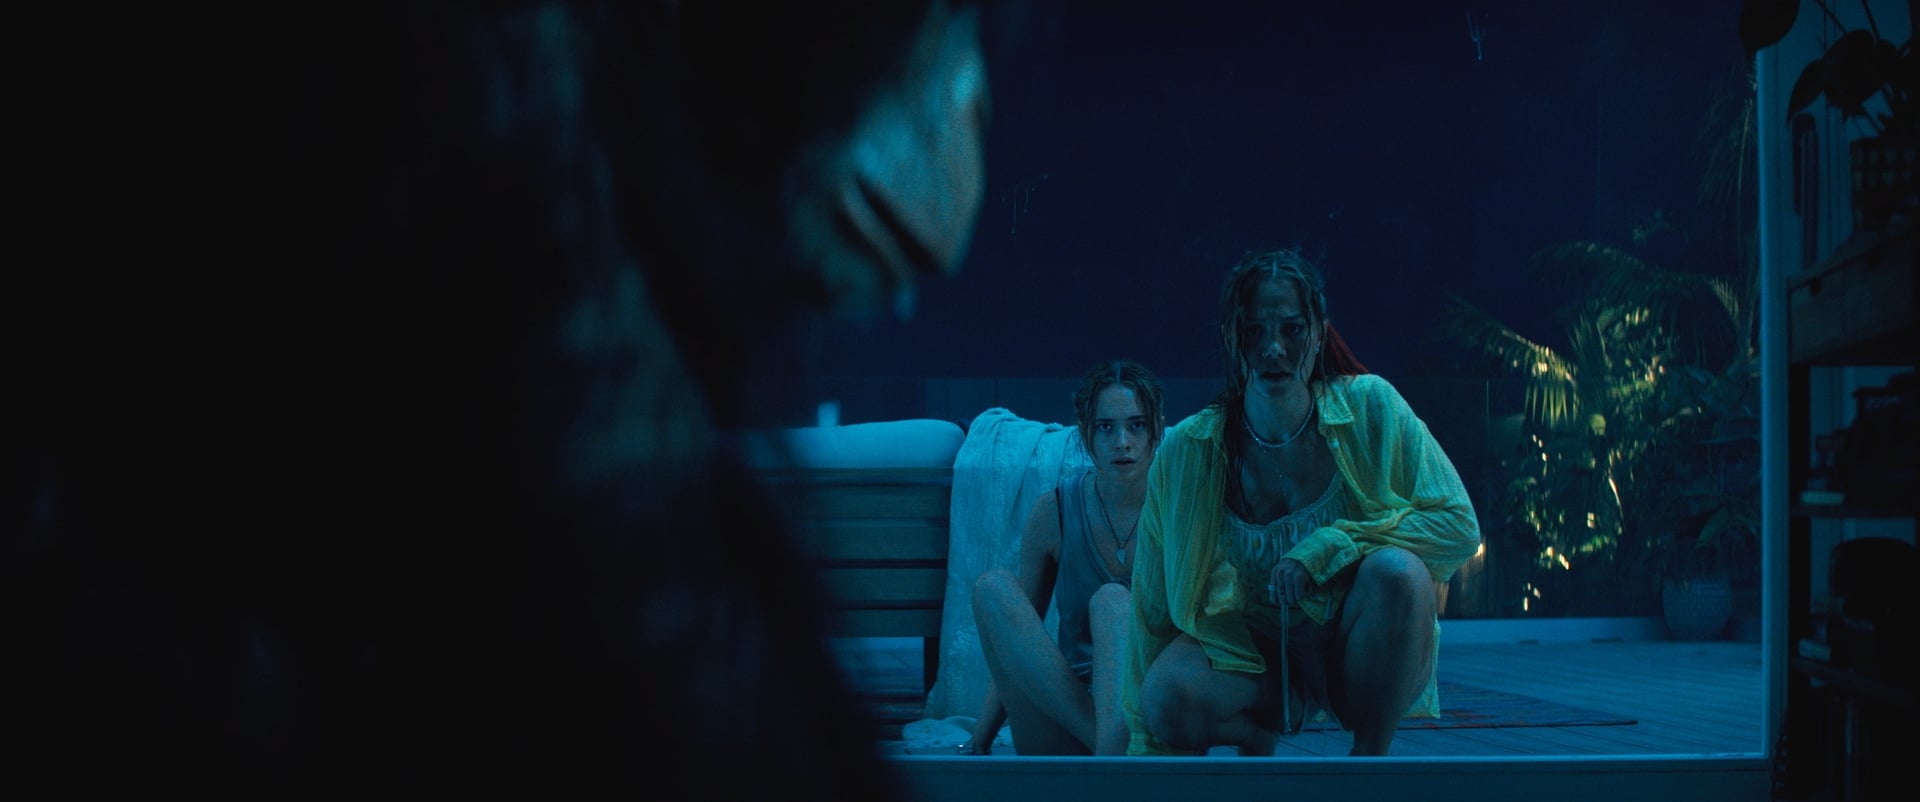
The characters are initially lit by the pool, which serves as its own self-contained light source.

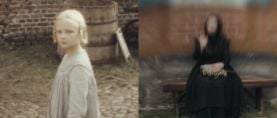
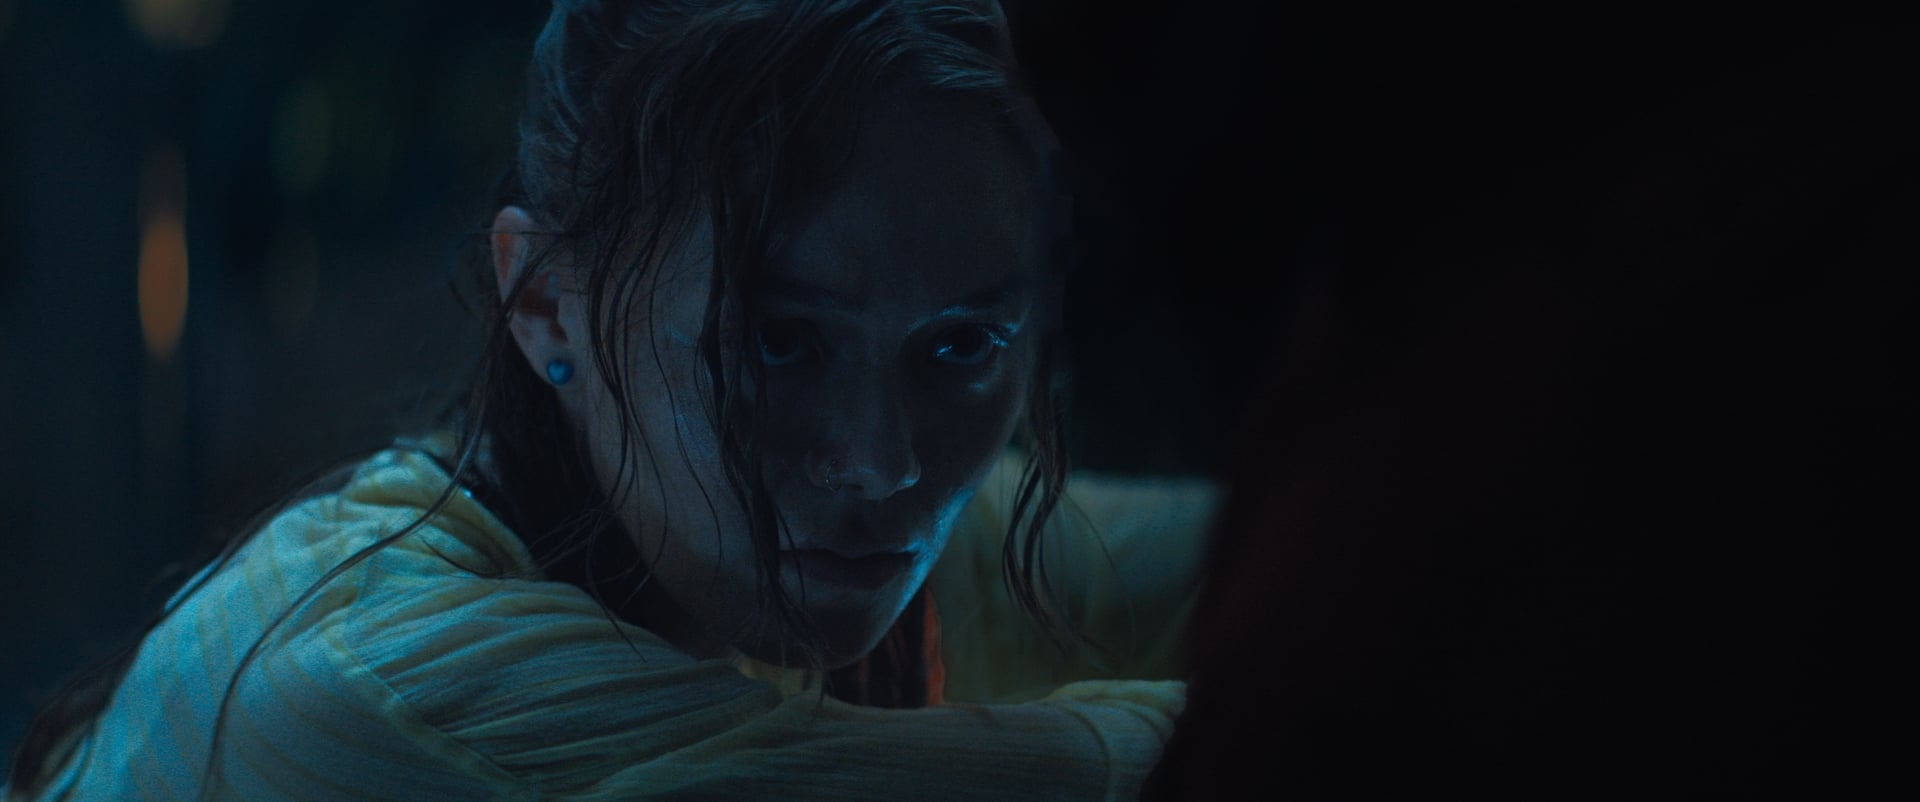
From there, we slowly Steadicam them up the stairs to the next floor...
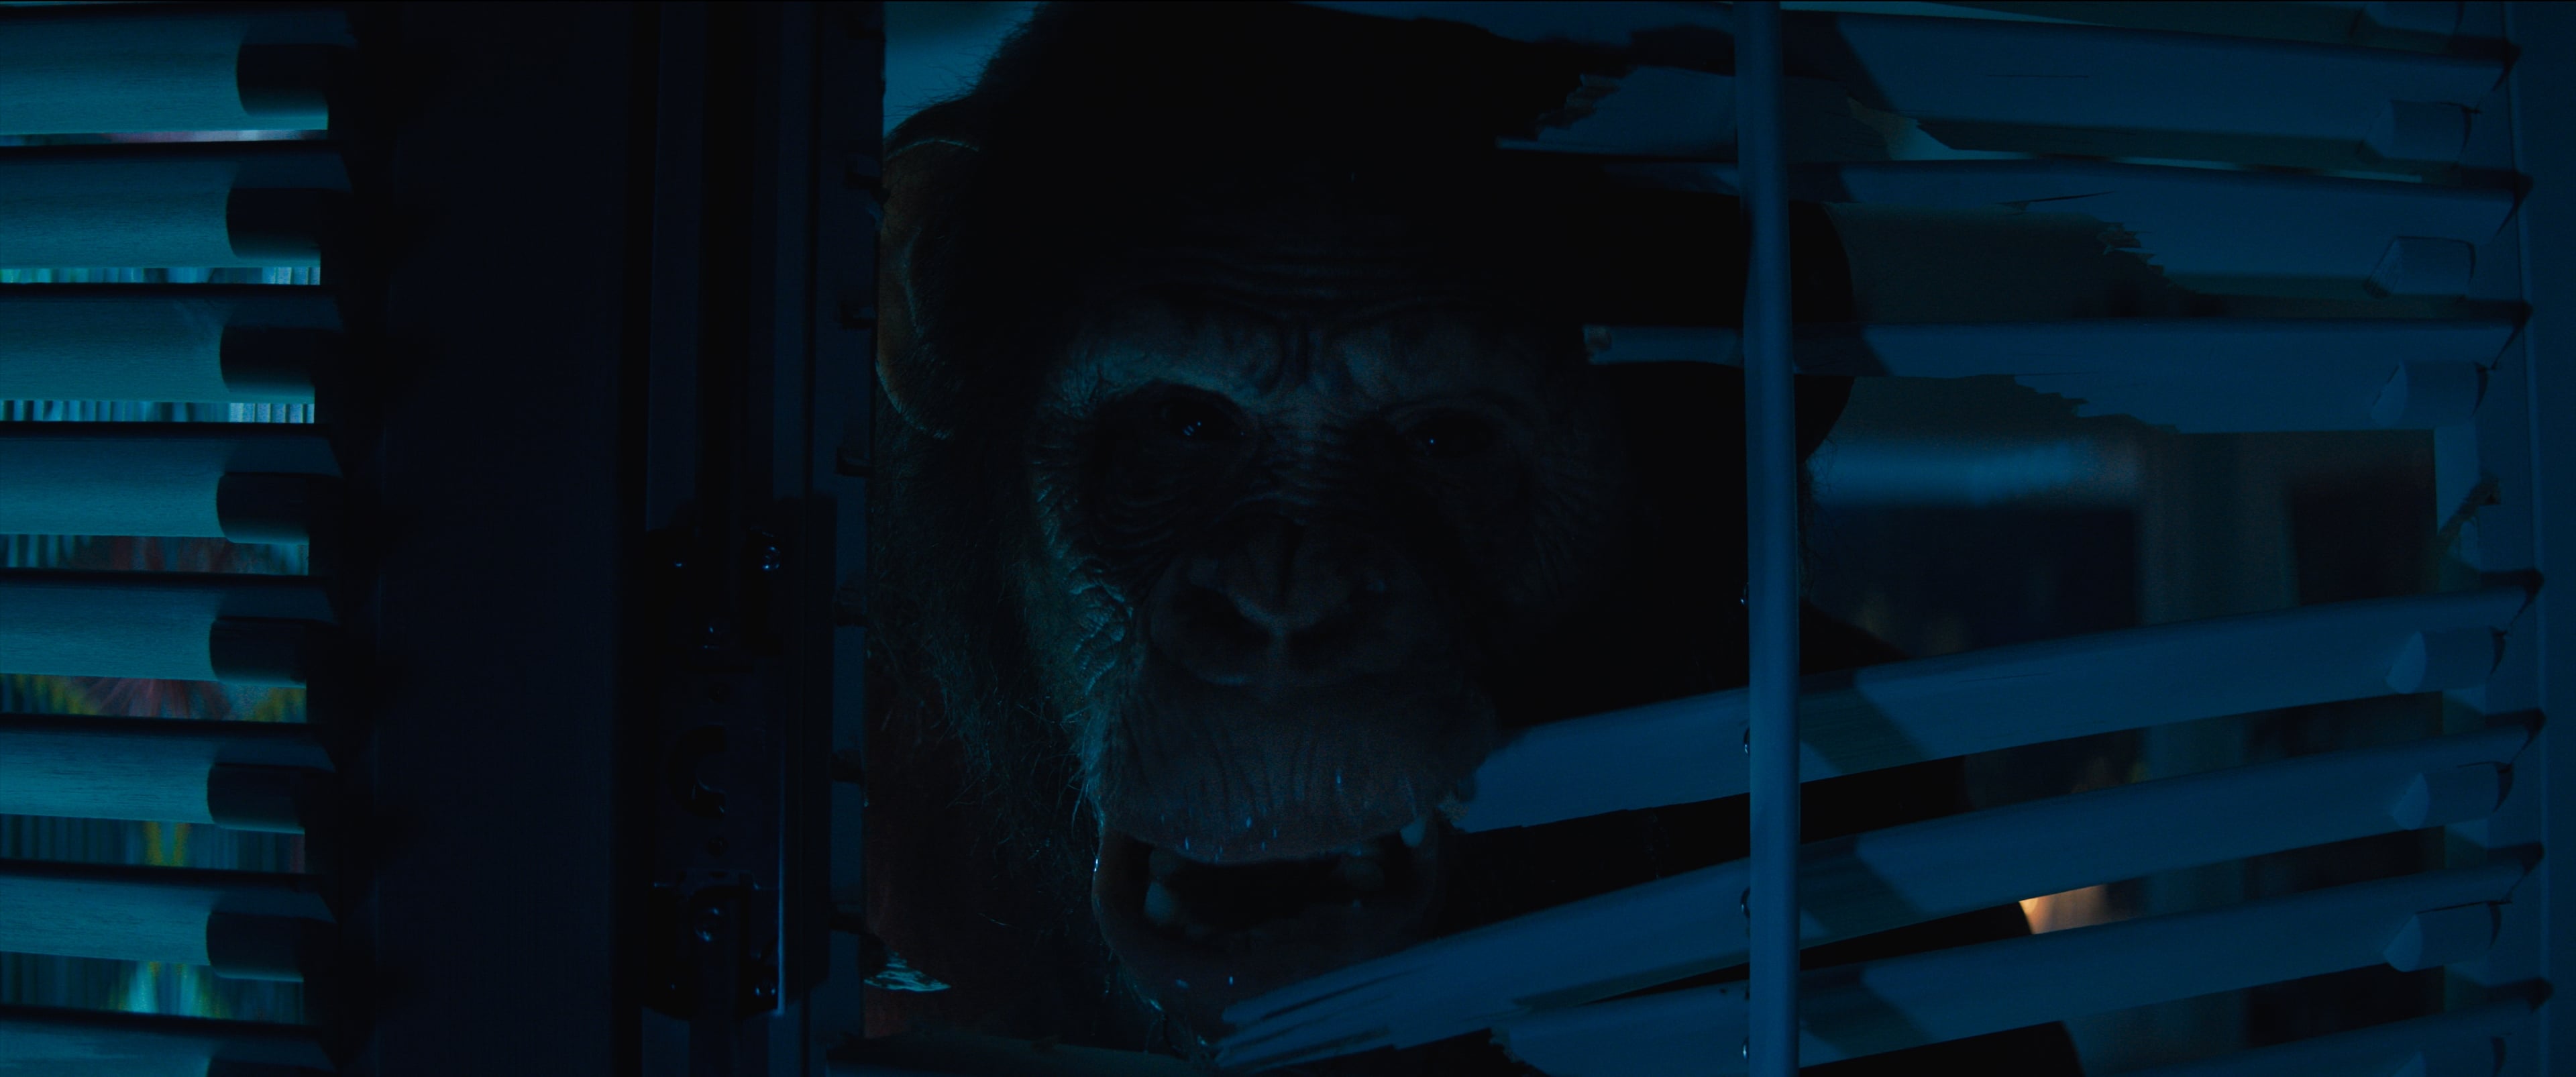
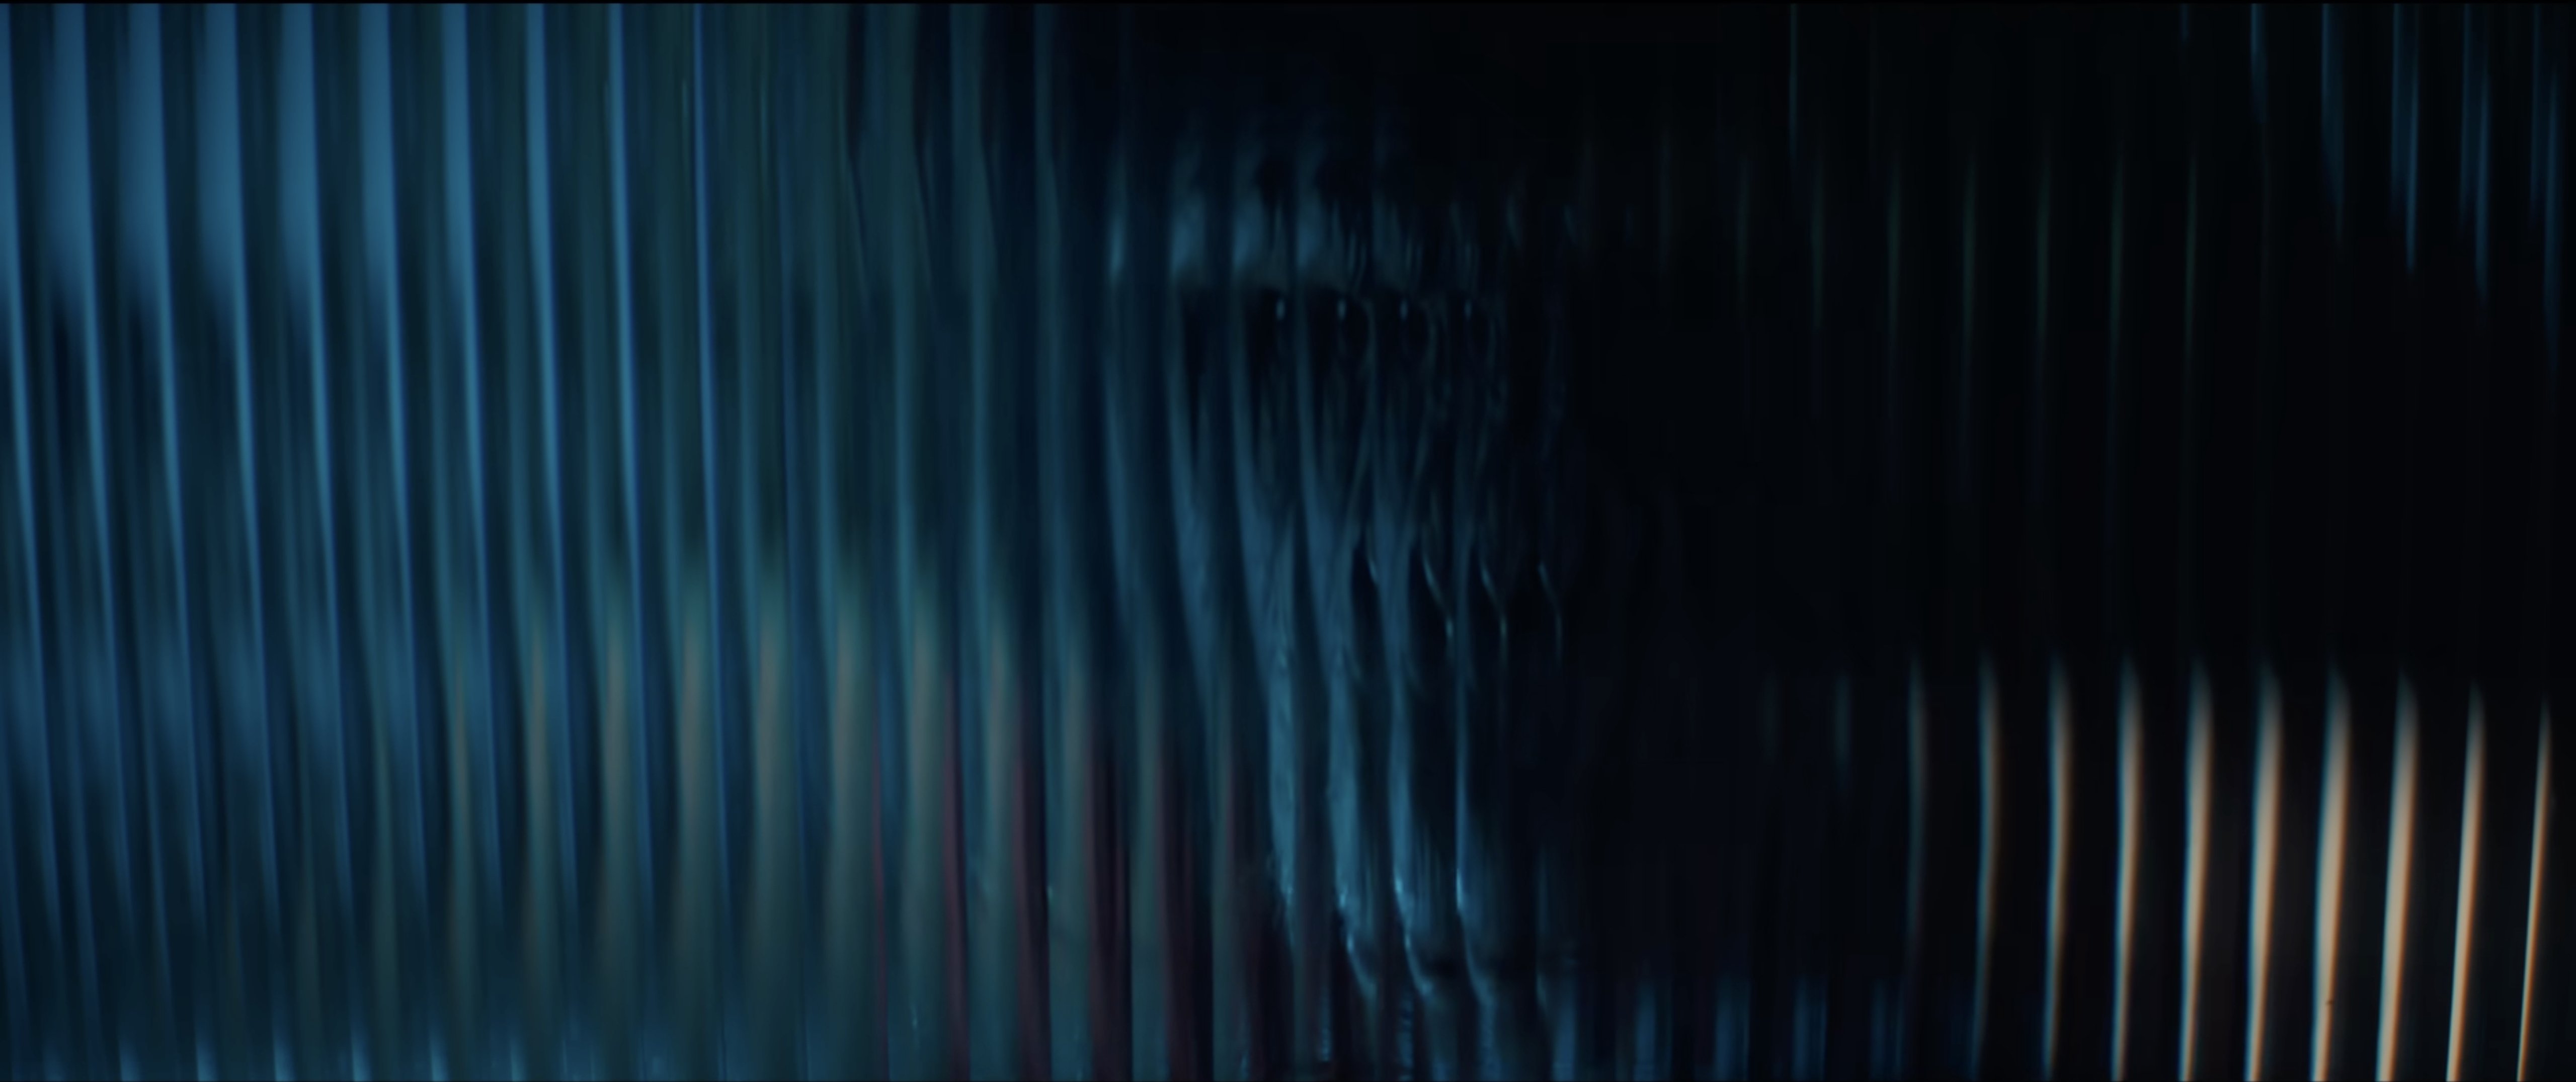
...and cut back to slow, creeping shots as they move through the living room and ultimately discover that they need to hide in the back of the closet, as the chimpanzee, Ben, tries to break in, with the camera getting closer and closer throughout the entire sequence.
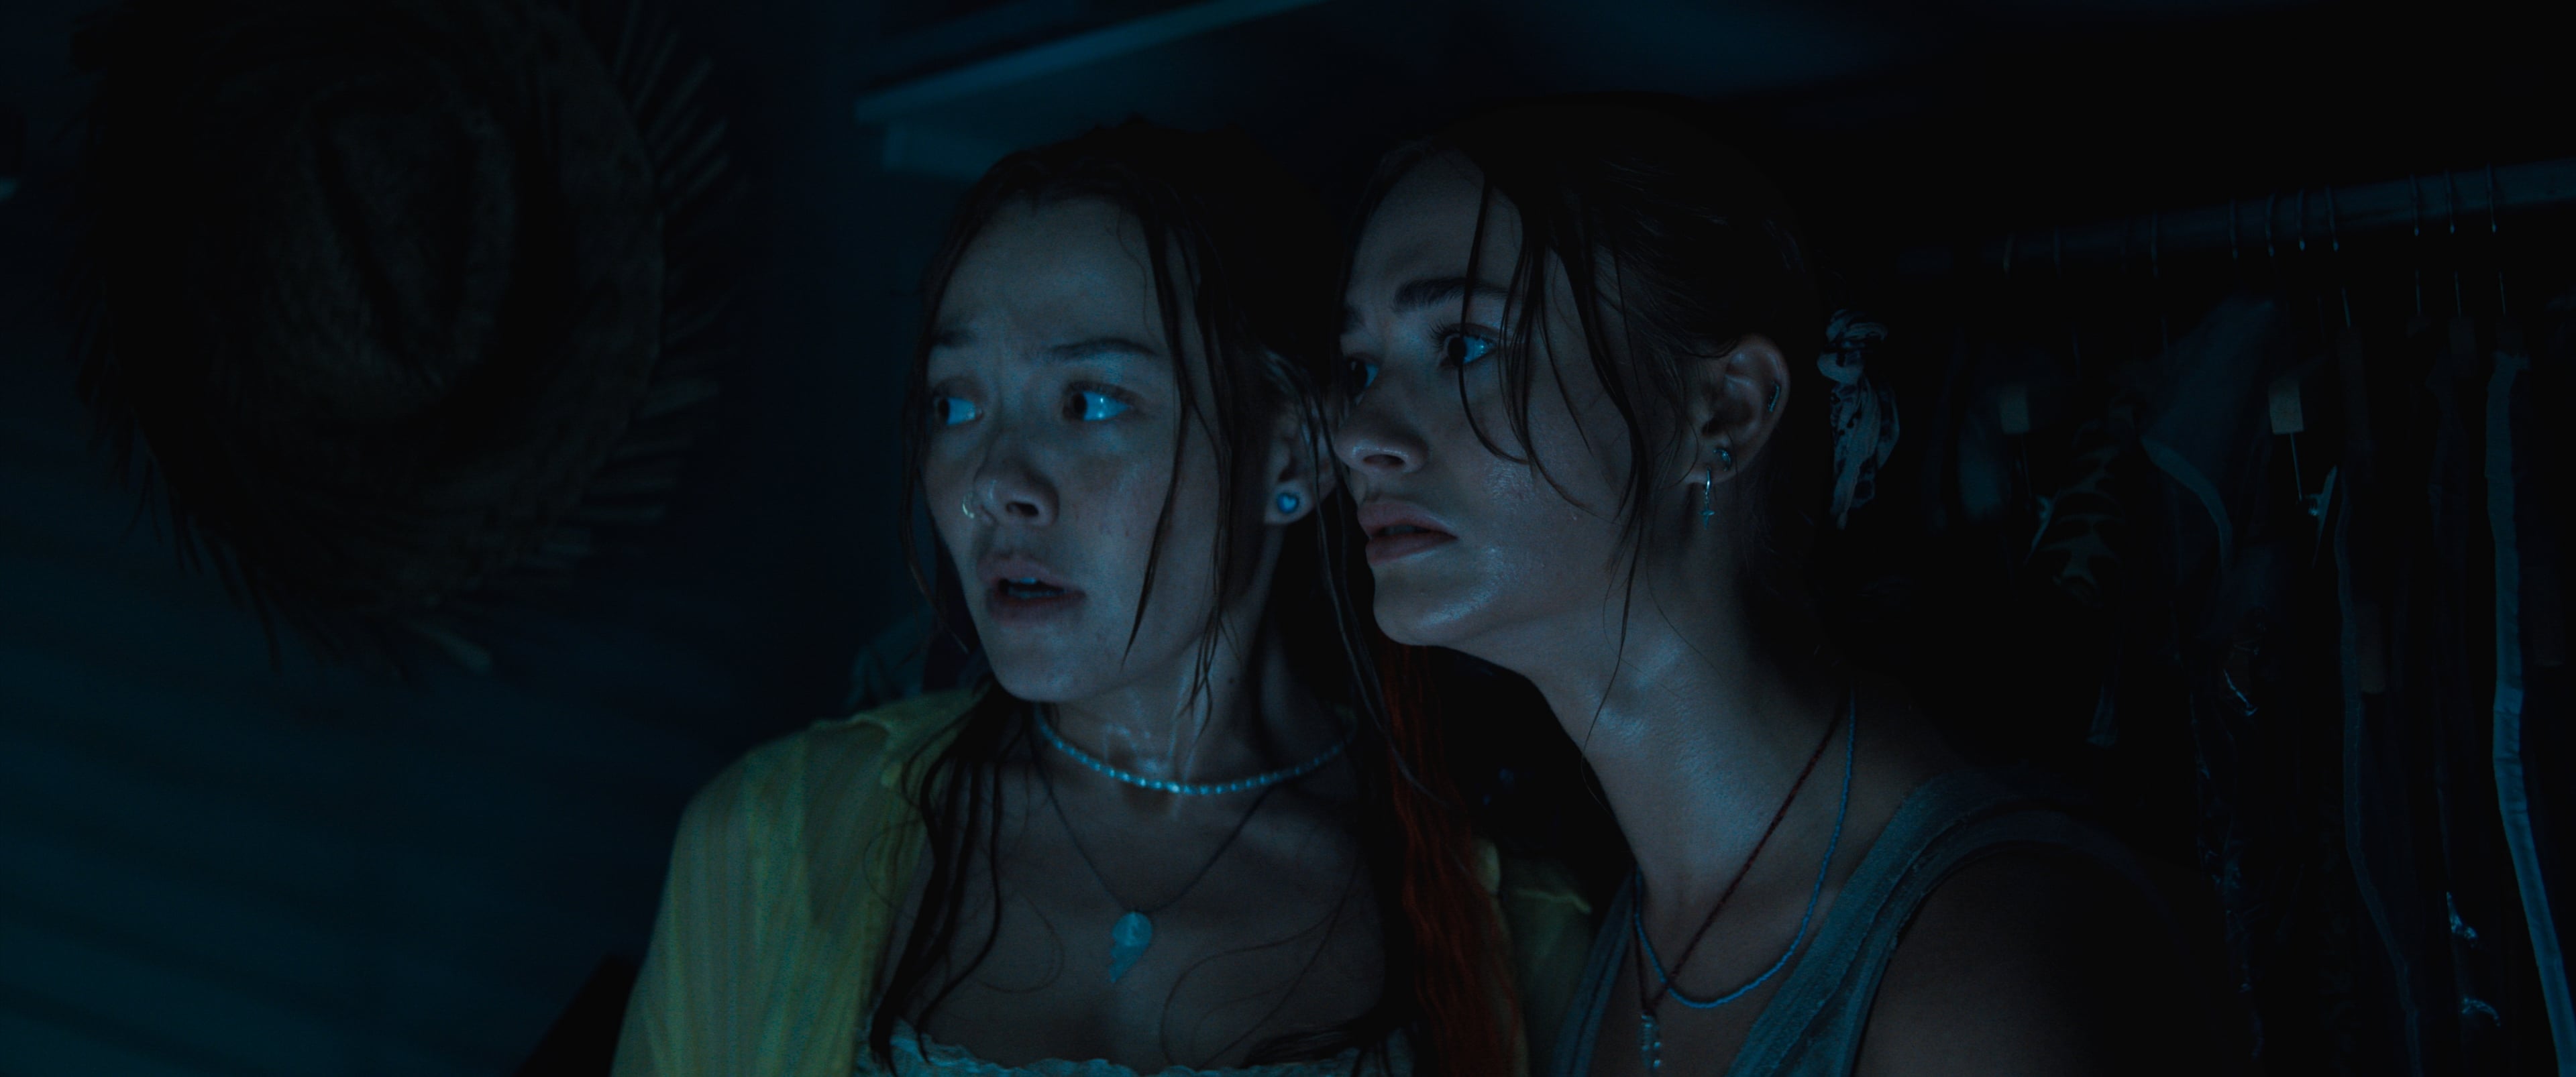
This scene is also a great example of how I used our noodles hidden through the set to give a low kicker or edge light to the cast to help them stand out from the background. Once our actors were wet from the pool, I asked the make-up team to keep them glistening for the rest of the film, which helped the light to catch their skin beautifully.
For the moment in which the characters hide in the closet and pull the door closed, I asked the art department to make a version of the door that had a larger gap at the bottom, out of shot, so I could cheat light in from outside by skipping a Domino off of bleached muslin tapped to the floor. As our actors pushed deeper into the closet, I could extend that light source with several noodles placed directly on the floor.
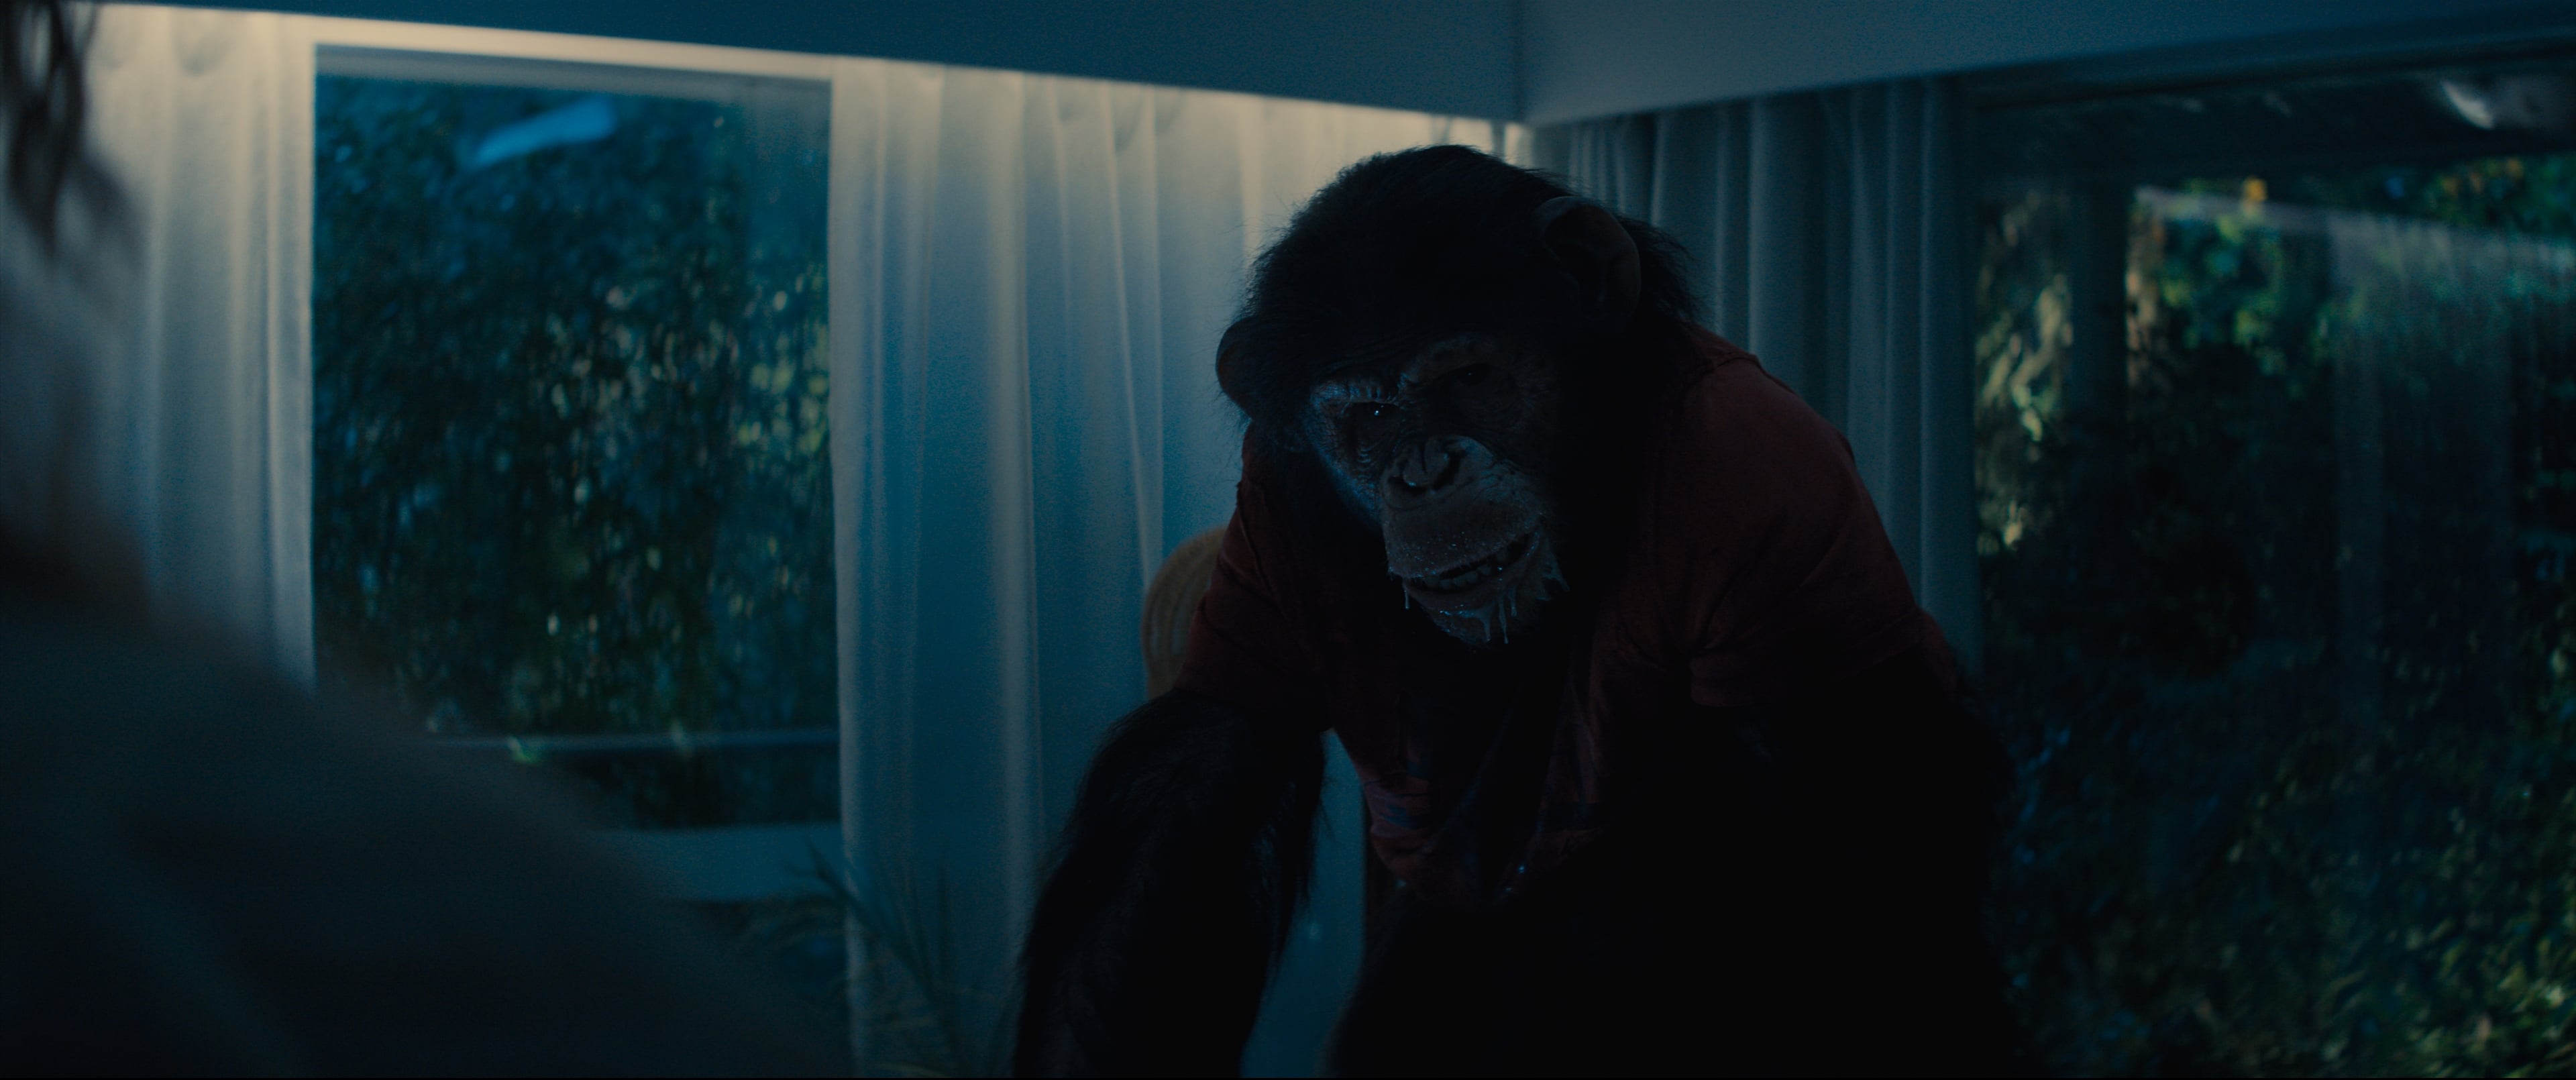
Bringing Ben to Life
Lighting a practical creature-FX suit, like the one we had for Ben, is always an interesting challenge. Before I worked in the camera department, I dabbled in prosthetic make-up, so I have a deep love for monster movies and creature FX. Through testing, I found the way I wanted to light Ben to help bring his skin to life. Using our noodles — or sometimes, our Dominos — I would slowly bring a soft or hard kicker light in from a side or 3/4 back position, just to help catch the edge of Ben's dark eyes and to help rake across the texture of his maw. That tiny kick of light in the eye made all the difference in bringing him to life.
We spent time in prep shooting tests on Ben, which gave me a chance to design a single LUT with colorist Dan Moran that helped replicate some of the qualities of Kodak's Vision2 Expression 500T 5229 stock. That became the basis for our final color grade, which was very faithful to our dailies.
Unit stills by Gareth Gatrell. Images courtesy of Paramount Pictures and the filmmakers.